What 'Washing Your Butter' Really Means And When You Should Do It
If all you have available in your closest supermarket is one of these worst-ranked butters, you can absolutely do better by churning your own butter at home. It's incredibly simple, and you only need one ingredient: heavy cream. Before you get started, though, you might be concerned about the term "washing your butter" (or "rinsing" it); it is completely understandable if you aren't sure what it means or when you should go about doing it. Thankfully, it's very simple. Washing butter means exactly what it sounds like — using water to wash away the excess buttermilk.
Washing your butter is actually the second-to-last step you'll perform (if you're going to salt your butter) before you place your homemade butter in whatever container you're going to keep it in. After churning the butter, you'll be left with the butter and the buttermilk. After draining the buttermilk, it is time to wash your butter. Technically, you could skip this step, but our guess is that you want your butter to last longer than a mere few days. The reason you're advised to wash your butter and get rid of the remaining buttermilk is that buttermilk goes rancid quickly, thereby ruining your entire crock or log from the inside out. The better you rinse your butter, the longer it will last.
Methods for rinsing your butter
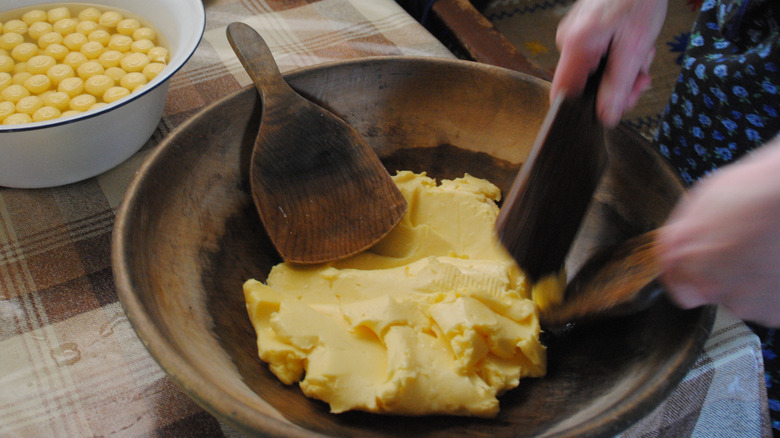
There are a few methods you can use to rinse your butter. First up, place your newly formed butter in a colander or sieve and put it in your sink. Run cool water over the butter and, using a wooden spoon or spatula, agitate the buttery mass, pressing on it and moving it until the water runs clear. It's very important, for both methods described here, that the water coming out of the butter, and off it, is clear. When the water runs clear it means that the buttermilk, that could spoil your butter if left behind, has been removed.
Another method is to rinse the butter in a bowl of ice water. Press the butter against the sides of the bowl and switch out the water every time it becomes opaque with buttermilk. You'll continue to press and agitate the butter until the water in the bowl remains clear. This could take up to half a dozen loads of water, so be prepared for a bit of awkward work, especially if you're using your hands. That being said, the longevity of rinsed butter is worth the effort, especially if you plan on making any of these 15 recipes with butter front and center over the next couple of weeks.