How To Replicate The Crust And Crumb Of Artisan Bread At Home
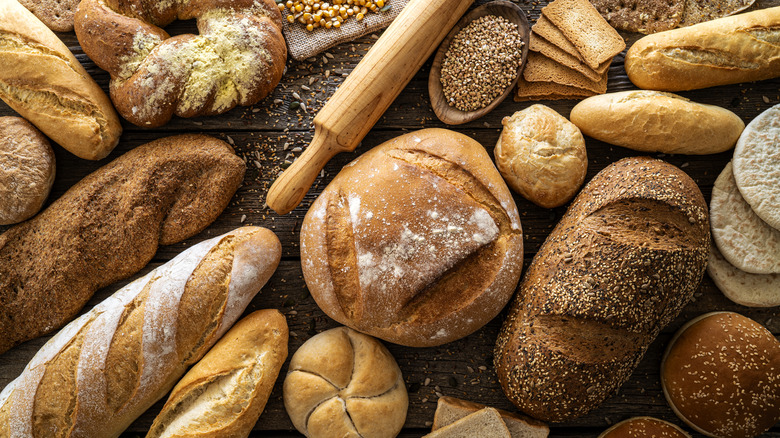
Crusty and chewy all at once, artisan bread has a delicious flavor and a gorgeous crumb –- perfect for eating all on its own, spread with butter, or as part of a dish like a delicious homemade bruschetta — think of a rustic but quintessential sourdough farm loaf. There are a few characteristics that define this aspirational loaf, and a litany of tips and tricks that people swear by to achieve the best bread possible (Julia Child liked to smack her bread dough, for example).
To find out more, Food Republic asked Sheena Otto, resident baker of Brooklyn's Park Slope farmers market. Artisan bread, technically speaking, doesn't have a set definition (as the name tells us — it's all about the "artisan" who makes it, not the bread itself), but Otto gave us her take: "When people think of artisan bread, I think they are referring to crusty sourdough loaves of bread," she stated. "The ingredients are usually whole and organic (whole grains, organic flour, sea salt) and naturally leavened (with sourdough instead of conventional yeast)."
And to make that crusty bread at home? "Home bakers can replicate the signature crust and crumb in two ways," Otto told us. The first is with a Dutch oven, and the second involves a baking stone.
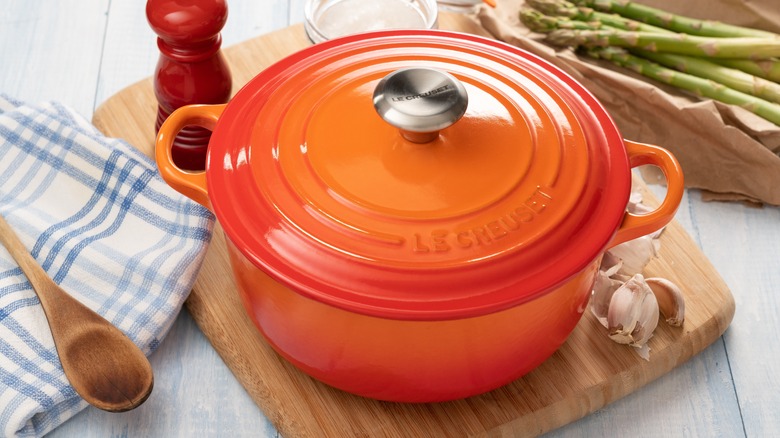
The easiest method for home bakers is to use a Dutch oven
In a professional kitchen, there's lots of specialized equipment to make controlling heat and humidity a breeze –- but at home, things are a little more complicated. That doesn't mean it has to be difficult, though. The first of them requires something you probably already have lying around in your kitchen — the famous (and rather brilliant) Dutch oven method. This is the ideal method if you're baking a single, regularly shaped loaf: think that classic round sourdough shape.
So how is it done? Firstly, make sure your Dutch oven has been adequately preheated — you'll want to aim for a high enough temperature to ensure a healthy rise and a beautifully colored, crunchy crust. Make sure you score your dough to let it rise properly, too. Just stick to the easiest scoring pattern, and you'll be good. Then, once you've got your oven preheated (and your oven mitts at the ready), Sheena Otto noted that you should put your dough into the Dutch oven, "spray the dough with water, score the dough, then replace the lid, bake for 20ish minutes, remove [the] lid, [and] continue the bake."
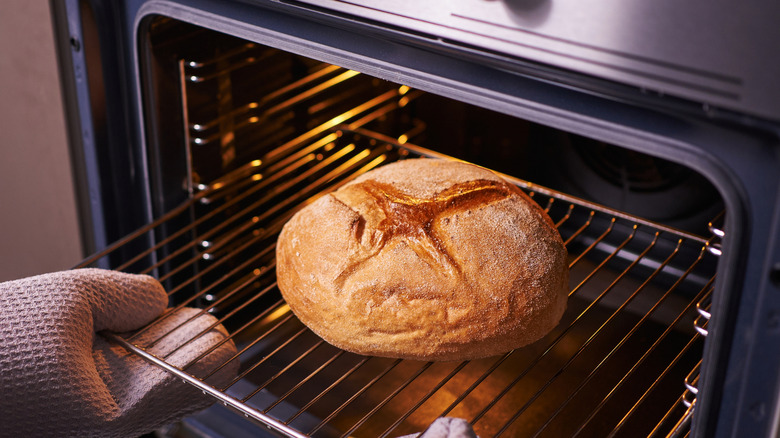
Once you've finished with the bake, be sure to take care when removing the bread from the Dutch oven. It'll be piping hot!
How to control the conditions in your own oven, just like in a bakery
So what if you want to make a whole batch of bread at once? "Another method more suitable for multiple loaves or irregularly shaped loaves (baguette, fougasse, etc.) would be to use a baking stone on the middle-lower rack of your oven, [and] then place lava rocks in a tray in the lowest rack of your oven," Otto told us.
Lava rocks are extremely good at distributing lots of heat evenly, so make for a useful tool when you're trying to create a consistent temperature across your entire oven. Make sure you preheat your oven with the lava rocks already inside to help them absorb as much heat as possible. Then, Otto noted that you should boil a kettle as you prepare the dough. Now comes the tricky bit — and it has to happen quickly! Score and spray the dough like with a Dutch oven, and then get a dry dish towel, which you'll lay on the glass window of your oven to keep it from shattering if you accidentally drip water. Safety comes first, after all.
Then, after putting the dough onto the baking stone, she stated, "Pull the rack with the rocks on it out slightly, so you have space to safely pour the boiling water into the tray without knocking anything." Go ahead and pour the water while taking care to avoid the steam burning you (or fogging up your glasses) — then just bake as usual. Voila — you'll have a rustic artisan loaf (or two) in whatever shape you want.


