Homemade Whipped Cream Couldn't Be Easier. Here's How To Do It Right
Whether you've whipped up your own easy no-churn ice cream or just picked up a store-bought pie, there's possibly no better topping than a big dollop of light and airy whipped cream. While you could simply pick up a container or spray can from the store, nothing can match the flavor and consistency of homemade whipped cream. And it's so easy to make, so there's nearly no reason not to.
At its most basic, whipped cream is merely a blend of cream and either granulated or powdered sugar, though some recipes may call for vanilla extract, too. However, you'll want to make sure to select the right variety of dairy — always reach for a carton that's labeled full-fat "heavy cream" since the science behind transforming it into pillowy peaks of whipped goodness lies in the fat content.
When the cream is whipped, air bubbles are captured by the fat, ultimately resulting in the light and airy deliciousness you can easily spoon onto your desserts or coffee. Without a fat content of at least 30%, the cream will not whip. But by using heavy cream, which typically has approximately 36% fat, you'll be sure to get the luscious topping you're aiming for.
Choosing the correct dairy is just the first step, however. There are also a few tools and techniques that you need to make the perfect homemade whipped cream.
Tools for making homemade whipped cream
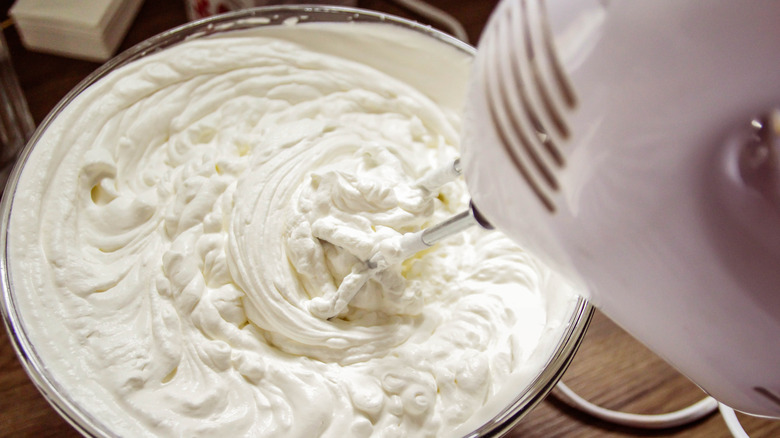
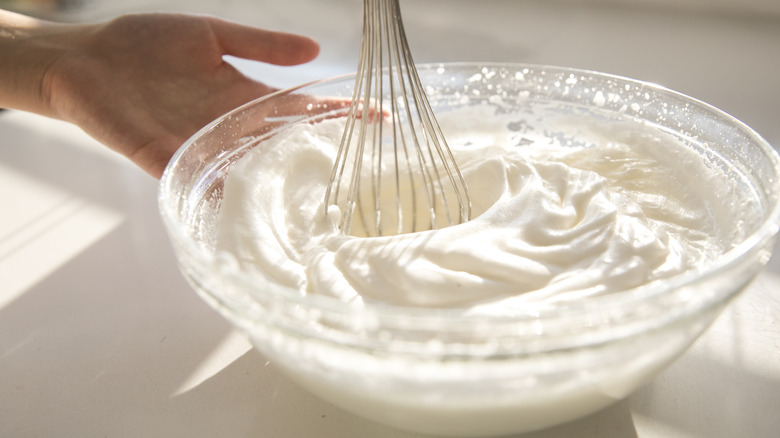
All you need to mix up whipped cream at home are a few simple tools. A metal or glass bowl is a necessity, of course, but make sure that it's large and deep enough to avoid a mess of cream splattered on your counter or kitchen walls. While you could use a whisk, the most efficient way to make whipped cream is with a hand-mixer or stand mixer. (Save the whisk for finishing the whipped cream, if you choose.)
While many recipes often call for using room temperature ingredients, that's not the case with whipped cream. You'll want it to remain cold during the whipping process so that the fat in the cream doesn't melt — after all, the fat content is the element that's doing the heavy-lifting to transform your dairy into whipped bliss.
But just starting with cold cream isn't the only way to ensure it doesn't turn tepid. Try placing your metal mixing bowl, beaters, and whisk (if you're using one) in the freezer to chill prior to starting the process. Then, if possible, place your mixing bowl into an ice bath in another bowl or dish to keep it chilled while mixing.
The best techniques for making homemade whipped cream
Once you have your tools and the heavy cream is chilled, determine if you're going to use powdered sugar or a granulated variety. If opting for the latter, you can add it to the bowl with the cream and begin mixing on a low speed. Powdered sugar, on the other hand, is far finer so it doesn't need the entire length of mixing time to dissolve into the cream. Instead, pour it in towards the end.
When you're mixing, there are a few small tricks that will make it a breeze to create and clean up afterwards. First, start your mixer on a low speed and gradually increase it to prevent the cream and sugar from splashing out of the bowl. Then, avoid over-mixing at all costs unless you're aiming to wind up with butter instead. This is where your whisk can become your best friend.
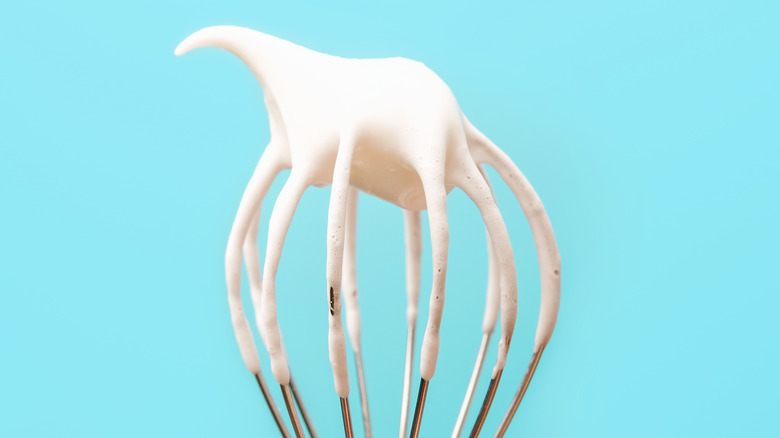
When you've worked it long enough that the cream is just starting to form peaks, you can give your mixer a rest and take it from there. Simply continue the process of whipping by using the whisk until stiff peaks form. Doing the tail end of the work on your own with the whisk can prevent the error of over-mixing.
Additions and storage for homemade whipped cream
While vanilla extract is a popular ingredient to add to whipped cream, you can flavor your batch in numerous other ways as well. Other flavored extracts work well, or you can infuse sweetness into it with fruit powder. Shaking in spices like cinnamon, nutmeg, or cardamom can kick it up a notch, too. Or, make it a bit boozy with a spoonful of your favorite spirit. Just be sure to pour in your add-ins during the mixing process so that they have time to become fully incorporated.
Once you're finished mixing, you can serve the whipped cream immediately or transfer it to an airtight container and pop it in the fridge for later. Theoretically, it will remain good for up to five days, but it's unlikely to remain light and fluffy for more than a couple of hours. Fortunately, there are a few solutions that may help it stay airy for a longer period of time.
First, using powdered sugar instead of granulated sugar can contribute to a longer shelf-life since the cornstarch in it can create more stability in the whipped cream. Another easy trick for stabilizing whipped cream is to fold in a bit of Greek yogurt or sour cream — just note that it can create a tangier version of the sweet treat, so you may want to adjust the sugar content. Finally, for a sweet stabilizer, turn to vanilla pudding mix to extend your whipped cream's dreamy consistency.


