How To Freeze Homemade French Fries
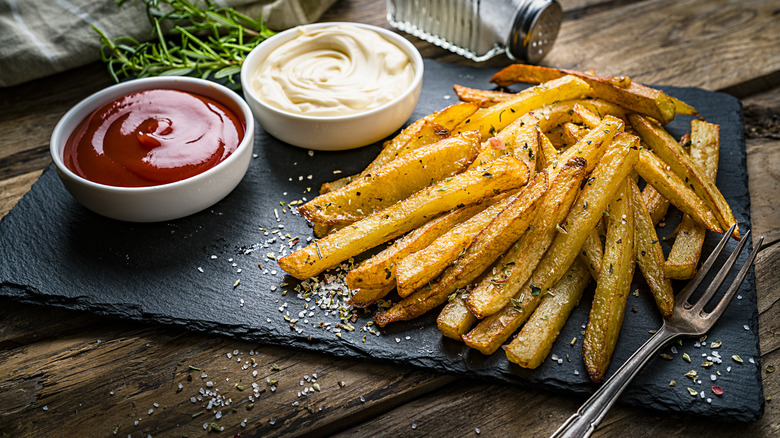
French fries are one of those things where, for a lot of home cooks, perfection is frustratingly elusive. While you can make fries at home – they're convenient, easy to prep ahead, and make for the perfect accompaniment to just about everything from an all-American cheeseburger to a classic steak au poivre – they never really seem to taste as good as the version you get in a restaurant, or even the ones you buy in the store, do they?
There is actually a good reason for this, mind. More often than not, when you order fries at a restaurant, they've probably been pre-cooked and frozen, then fried to order. And this makes them ... better? Yes — though frozen food often draws the ire of chefs and home cooks alike, when it comes to certain foods, the process of preparing and freezing can actually be an integral part of what makes them so delicious, and this is true for french fries.
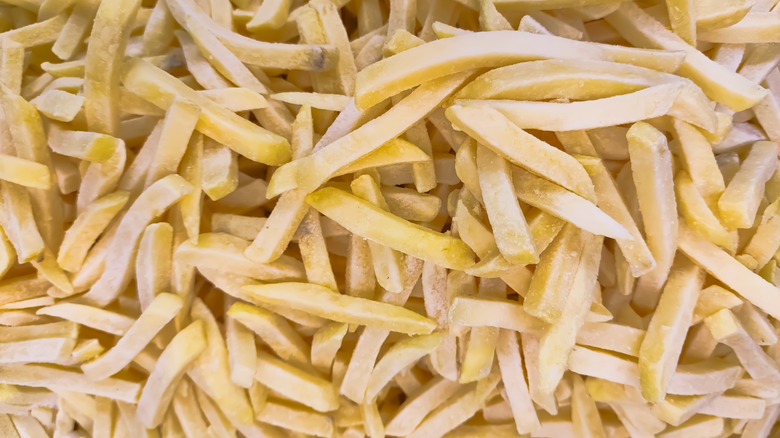
There is a scientific reason why chefs prefer frozen fries: They're preserved at their freshest, engineered to have just the right amount of starch, and are almost always pre-cooked before they're frozen, allowing for the crispiest crust, and the softest, fluffiest interior. Luckily, though, you can replicate this process at home. Batch freezing your own prepped fries is a shortcut to a delicious side dish, ready whenever you want it. Plus, you can customize your fries to your desired thickness! But how do you do it?
Pick and prep your potatoes
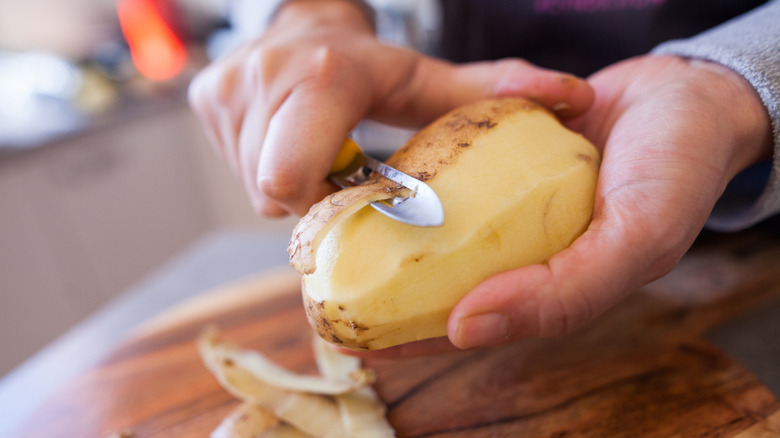
The first thing you'll want to do is peel and cut your potatoes. When it comes to choosing the right spuds to use, Idaho or Russet potatoes are the absolute best options. They're floury, with less moisture than other potatoes, so they will resist getting soggy.
Peeling is optional, but if you want to achieve that classic McDonald's-like skinny fry, then it's a must. With a sharp knife, slice your potatoes into fries — the thickness is really up to you, but consider that the thicker they are cut, the longer they'll take to cook. The most popular width for good old American french fries is about ⅜ of an inch. That's pretty specific, but aiming for just over a quarter inch in thickness will get you pretty close. We'd recommend going a little thicker when making fries at home — around half an inch in thickness is going to make things a little more manageable, and reduce the risk of overcooked (or disintegrated) potatoes.
Blanch your fries
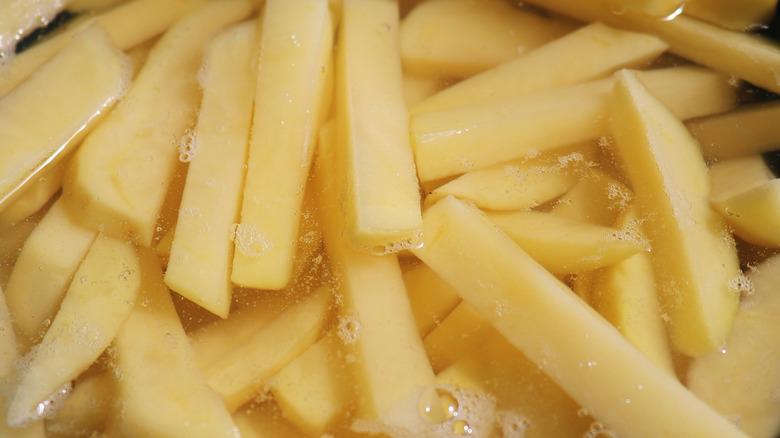
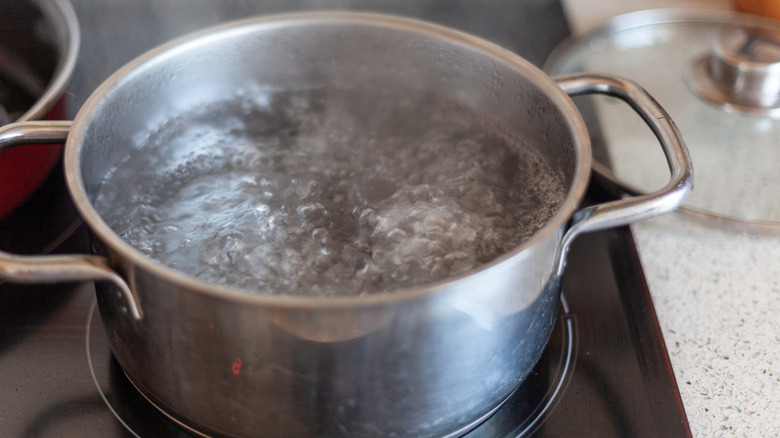
Get a large pot of salted water over medium-high heat and add a splash of vinegar while it comes up to a boil. The vinegar won't really affect the flavor of your potatoes beyond enhancing them with an extremely subtle (bordering on indetectable), but pleasant, taste, but it will help keep them from falling apart as they cook while leaving you with a beautifully bubbly, crusty exterior once you finally fry them up.
Once your water has come to a boil, drop in your potatoes batch by batch; you'll want to do this gradually to avoid overcrowding the pan, which can lead to uneven cooking and a slower cook time. Simmer them for around two minutes, or until they're tender. Remember: The two-minute guideline is for fries around half an inch thick — so if you are going for a slightly skinnier fry, you might want to reduce it slightly. A minute should be enough for ¼-inch thick fries. When it's time to take them out, use your slotted spoon (or spider if you have one) and transfer the potato from the pan to your pre-prepared ice bath. The cold shock will stop the cooking process at exactly the right moment, ensuring that you won't end up with mushy, overdone fries.
Dry off your fries
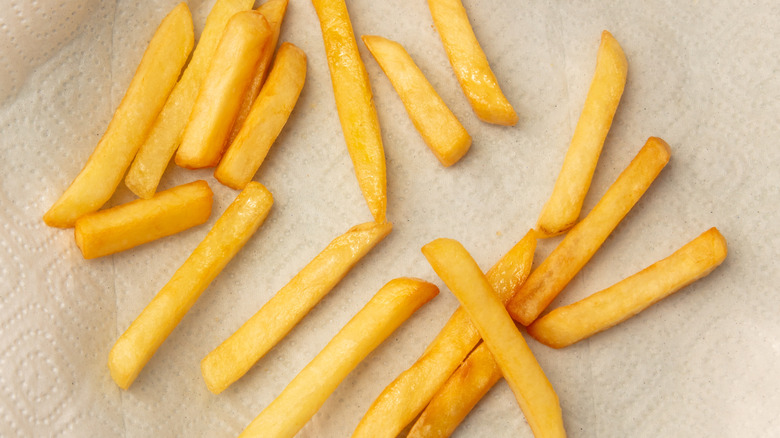
Lay out a cloth kitchen towel (you can also use paper towels here) on a clean surface, and once all your fries have had a dunk in the ice bath, transfer them to it. Spread them out, and dry them thoroughly. This will remove any pesky excess moisture from the potatoes — and, remember, when it comes to french fries, moisture is our enemy!
Drying will also prevent them from icing over in the freezer when it comes to storing them. This way, you can fry them straight from frozen as water and hot oil can be a dangerous combination, so it's for the best that you dry them off when it comes to both texture and safety!
Freeze your potatoes
Finally, it's time to freeze your fries. The first step, once everything is nice and dry, is to line the baking sheet you're going to freeze your fries on with parchment. Why a baking sheet? Well, it's all to do with how quickly those potatoes are going to freeze. Most commercial freezing in the United States is done with a blast chiller, which uses currents of freezing cold air to greatly speed up the process. It's why things can retain the absolute height of freshness when they're frozen, and it's part of why frozen, pre-made french fries taste so great.
Most of us don't have commercial blast chillers at home, so to recreate that rapid cooling effect, spread your fries out in a single layer on the lined baking sheet. This will mean that every single one gets as much freezing action as possible, so they're frozen much quicker than they would be if they weren't spread out. Doing so will preserve them better, making for tastier fries. It has the added benefit of preventing your fries from freezing together in giant clumps as well.
Put them in the freezer for a minimum of six hours, then remove them, place them in a ziplock freezer bag (which will help them stay fresh), and there you have it. Perfect, prepped french fries, ready to take out and fry (or even oven-bake) at a moment's notice. These will keep for about six months in the freezer... but we doubt they'll last that long.
What you'll need to freeze your homemade fries
First things first: you'll need a freezer with plenty of space for a baking sheet. Then, make sure you have a large pot for boiling your potatoes in, and a baking sheet (or two, depending on how many fries you're prepping). You'll need a slotted spoon or kitchen tongs — or better yet a spider, which'll allow you to pick up far more fries at a time and ensure consistent doneness across the whole batch. This'll be equally useful when it comes to actually frying your potatoes for the same reason.)
Then, you'll need a clean kitchen towel (or paper towels), some parchment paper, salt, white vinegar, some zip-top freezer bags, and a large bowl full of ice water. Once you've got all that together, you'll be ready to go!

