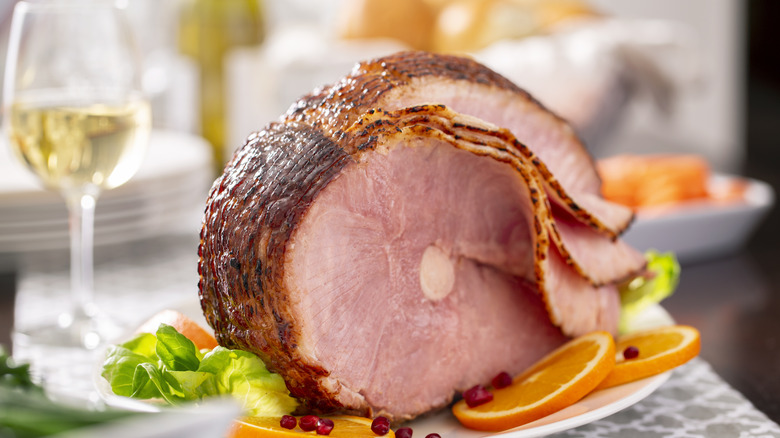
12 Rules For Baking The Perfect Ham
We may receive a commission on purchases made from links.
It often feels like certain holidays have a grip on specific meats. Turkey, for instance, takes the lead at a Thanksgiving table. While Christmas and Easter often have ham as the main course. But you have flexibility to choose your main meat dish — and there's nothing wrong with shaking up tradition. Because change can be a mouthwatering delight. And to prepare swapping out your main dish meat, it's helpful to know some of the best tips when making ham, especially during the beloved turkey season.
The good news is — compared to turkey — ham couldn't be easier. There's a whole lot going for you in terms of preparation and cooking times. Plus, ham is a forgiving meat. Since it's typically cured (and cooked in most cases) the majority of what you'll be doing is heating it, along with making and applying glaze.
Even if there's no avoiding the occasional awkward conversations that happen around a holiday table, these tips will help make your holidays (throughout the year) more peaceful. Keeping the rules for baking ham in mind, you can be confident the main course will receive shining praise. Winning!
1. Choose ham with juices on the label
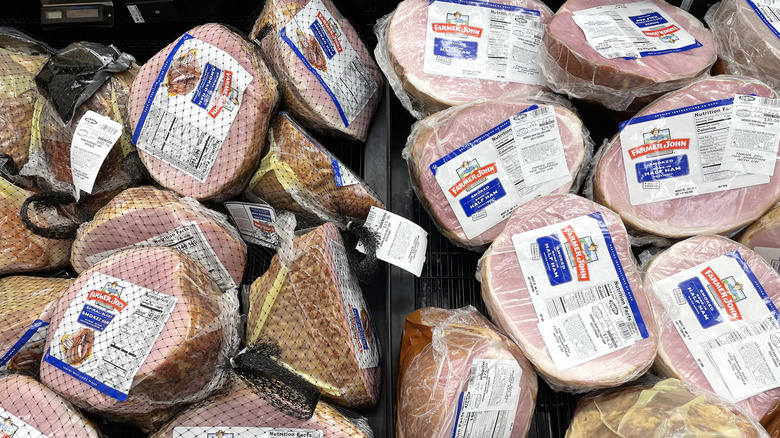
Depending on your grocery store, options for ham may be limited. While not all hams are created equal, there are a few labels you'll want to avoid while shopping for ham at the grocery store. One of the bigger mistakes you can make when looking for a ham is purchasing one labeled as "ham and water." This label indicates that the ham has brine with it. Brines have all sorts of benefits, but they also weigh down your ham and can take up an impressive 15% of the ham's total packaged weight. You don't want to be shelling out ham money for brine.
Instead, choose hams that have a label "with juices." If you're running late choosing your holiday ham — and all that's left are brine-soaked ones — submerge your entire ham in a very large container of water and allow it to sit. This will wash off any excess salt — but you'll need to give it some extra time as this process can take a few hours in the refrigerator. So don't wait too long to buy your ham before the big meal.
2. As a general rule, the amount of ham matters
There's nothing worse than panic before a big holiday meal. In the kitchen, it can exhibit in a variety of ways. Perhaps you're worried the blue ribbon pie might burn or that the side dishes won't be warm enough by the time they hit the table. Worse than any of these, however, is the worry that you don't have enough food. That's why it's helpful to know ahead of time (at least a rough head count) so you can plan for the right amount of ham.
When it comes to boneless ham, aim for between ⅓ to ½ pound of ham per person. And this considers everything else in the meal too. If you have plenty of side dishes, then this will be an ideal amount of ham — but if the side count is on the lower side of things, you may want to up that number. And if you plan to serve a bone-in ham, taking into account the weight of that bone is going to be important in your calculation. In this case, consider just under 1 pound of ham for each person. Planning based on these calculations will grant you peace of mind as you put the finishing touches on your shopping list. Also, knowing the amount you need ahead of time will help with baking that perfect ham — because you don't want to overcrowd your oven.
3. Heat it to perfection
You might feel a little intimidated if you're making your first holiday ham. After all, it's a massive hunk of meat, but it might comfort you to know that ham is much different from turkey — for many reasons — especially when it comes to the cooking process. In fact, much of the ham you'll find in the grocery store is already cooked, so your primary goal is to hit an ideal internal temperature to ensure it is warm all the way through.
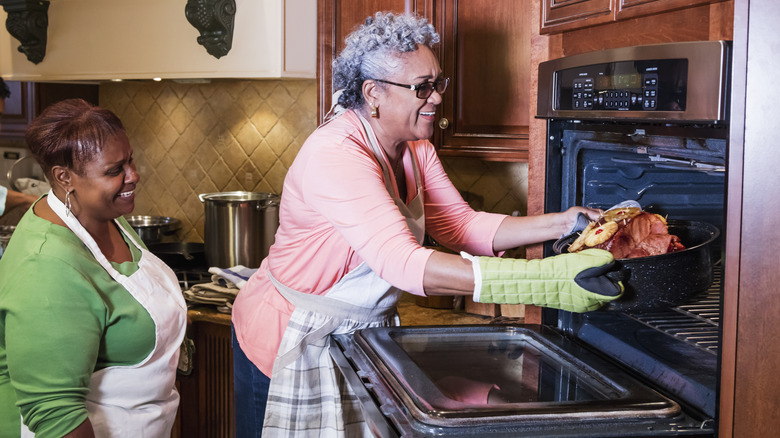
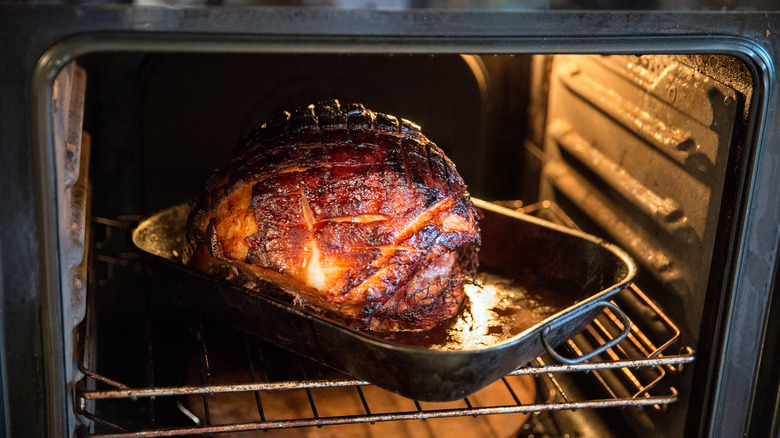
However, while it's easier than cooking turkey, don't be fooled: The cooking process isn't as simple as heating up leftovers. Even a 6 pound ham with its bone could still take nearly two and a half hours in a 325 degree Fahrenheit oven to reach an ideal temperature of 145 degrees Fahrenheit. Use an instant read thermometer or a smart thermometer device like a Meater to help measure the internal temperature. While you may think of reheating food as strictly a leftover activity, in the case of ham, it'll require more planning. But as long as it's already labeled as cooked and has been vacuum sealed, it can be eaten right out of your refrigerator.
4. Infusing additional flavors are an excellent rule of thumb
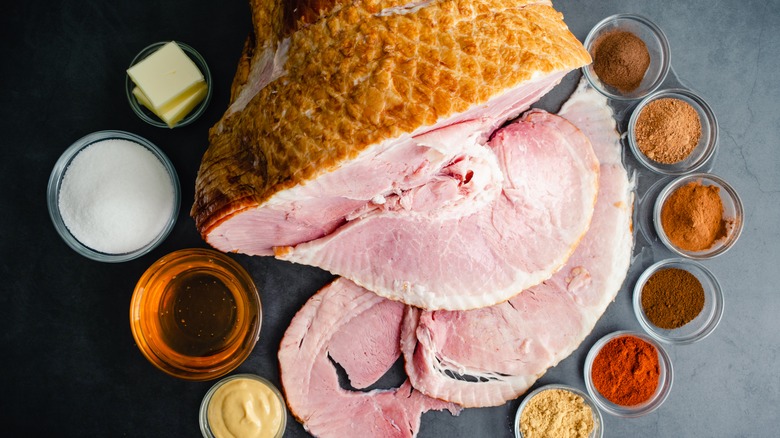
Many hams come with a packet of glaze that is either fully pre-prepared or nearly prepared. Some of these taste okay — in a pinch, they'll make a fine glaze. However, to really put your mark on the ham, consider making your own glaze. You only need to add a couple of ingredients to whip up a delicious glaze that will take your ham from fine to fantastic — for example, this blood orange and honey glaze will do the trick.
The best part is that glazes aren't difficult to prepare. You'll bring together some sweet and fruity ingredients in a saucepan with a few additional ingredients (cloves, cinnamon, and black pepper come to mind) and then apply your glaze to your ham toward the end of the cooking process. Plus, since you're preparing the glaze from fresh ingredients, you know exactly what is going in it to avoid allergy concerns. Since most hams come fully cooked, taking the extra time to make a glaze will give you more control over flavor, color, and even add luster to your beautiful centerpiece.
5. Creativity plays a role: from adding Samuel Adams beer to fruit cocktail syrup
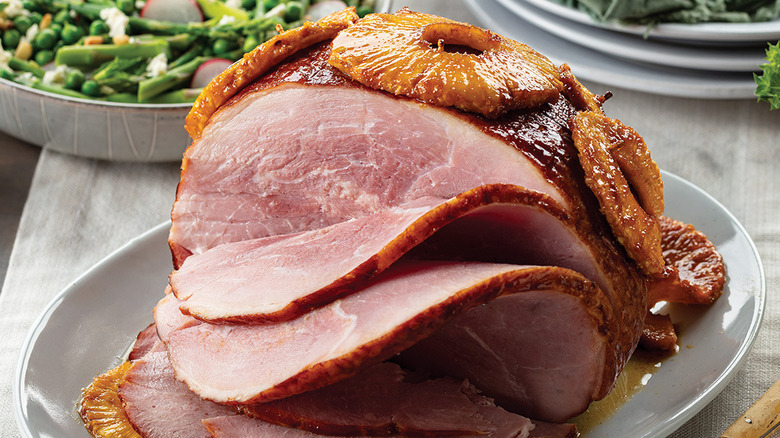
It's pretty common to see pineapple slices scattered all over the top of hams, but this certainly isn't the only way you can go. Most of the glazes we find are generally on the sweet side, but a honey glazed ham makes an excellent alternative to simply creating a sugary glaze. For something a little more adventurous — and if you are using canned fruit for other ingredients in your holiday meal — you can save that fruit cocktail syrup for a tasty ham glaze that will pull everything together nicely.
If a solely fruit glaze isn't your thing, Samuel Adams Boston Lager makes a solid base for a ham glaze. It'll involve some peaches as well which will add some of that fruity flavor — but it won't be so dedicated to overwhelm your taste buds. Allowing yourself to be creative with your add-ons will free you from a more conventional approach — consider it an unwritten rule pointing you in the right direction.
6. When the ham opens, that's your cue for glaze
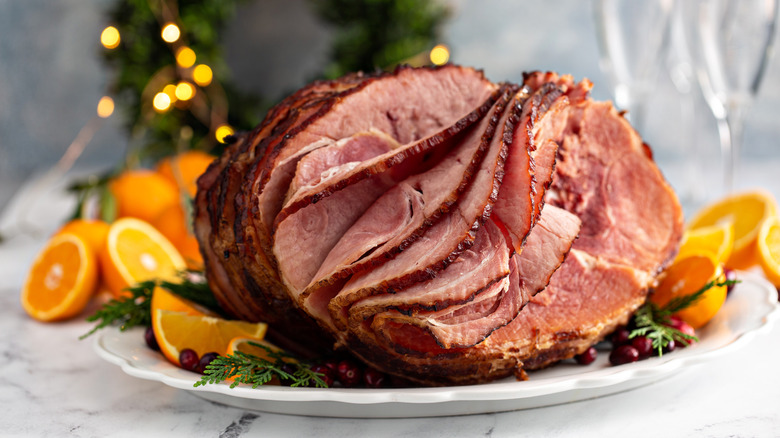
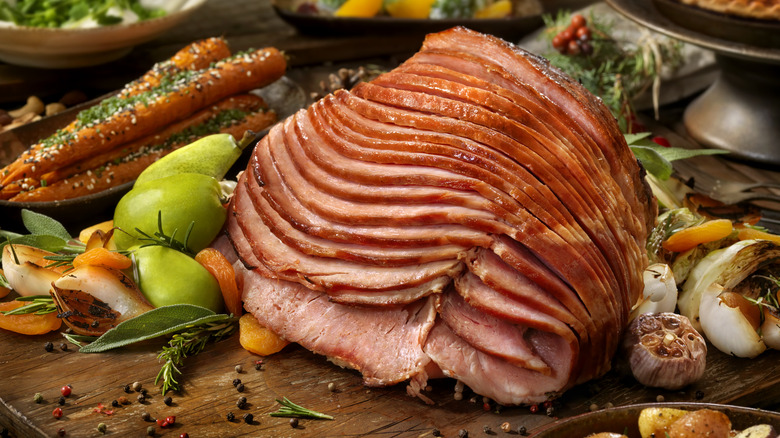
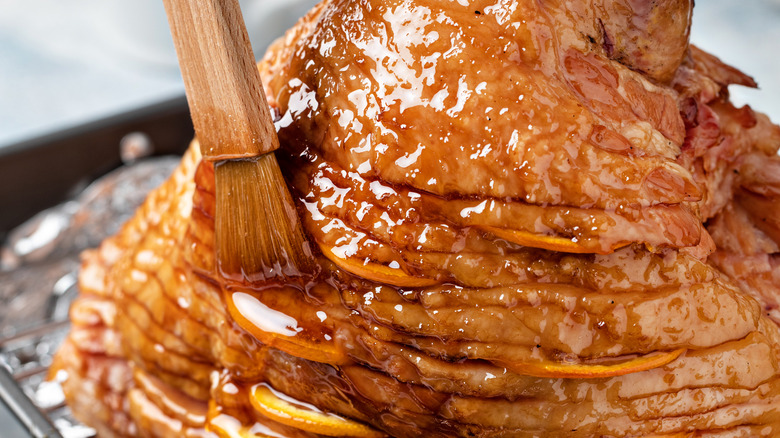
Since most hams are already cooked when you begin working on them, it's helpful to know what to look for as a visual cue for the reheating process. With spiral cut hams, the ham pieces begin to separate when it's nearly done cooking (or reheating). When this happens, it's the best time to apply your glaze. When the pieces start to separate, it means that more of your ham will be in contact with the heat. Glaze helps ensure that those slices won't dry out in the final part of reheating.
By brushing glaze in between the slices, you're ensuring that those flavors melt into all the meat slices and get everywhere they need to. Use a barbecue brush to apply your glaze on the outside and between the slices before popping it back into the smoker or oven for a little longer — roughly 45 minutes at the most.
7. Timing rule: brush that glaze on late
Waiting for your spiral cut ham to open before applying the glaze will help ensure you don't attack your ham with its tasty glaze too early. Doing so may lead to burned crust around the ham. Since many ham glazes have a fair amount of sugar, it doesn't take long for that caramelization to turn to burned bits. Instead, waiting to glaze until the end of your reheating or cooking time will help ensure you don't serve blackened ham.
If you aren't cooking a spiral cut ham, then you won't have the visual cue to go off. No worries — simply wait until the last half hour or so of baking, remove the ham from the oven, apply your glaze, and allow it to finish warming for the remainder of the cooking time. Make sure to keep that temp between 325 and 350 degrees Fahrenheit to avoid a scorched glaze.
8. Lay off the salt
Most of the hams you'll find in your grocery story are cured. Curing adds salt to your ham, so when it comes to glazing and seasonings, you really aren't going to want to add too much salt to the situation.
You'll notice that many of the ham glazes (if not most) do not have salt in them. Though it might seem natural to salt this part of your ham, doing so — even to support or balance out the sugary elements — could create too much of a salty bomb. Since glazes can help be the counterpoint to salty ham, adding even more sodium to the glaze isn't doing anyone any favors. While they are beloved for their savory sweetness, there is definitely a point when adding salt to ham — as with any dish — can become too much.
It's helpful to keep this in mind when you're planning the rest of your meal too. As a general rule concerning sides, offer dishes to help soak up some of that saltiness — mashed potatoes are a win here, as are items like fruit salads.
9. Bake the ham on its flat side
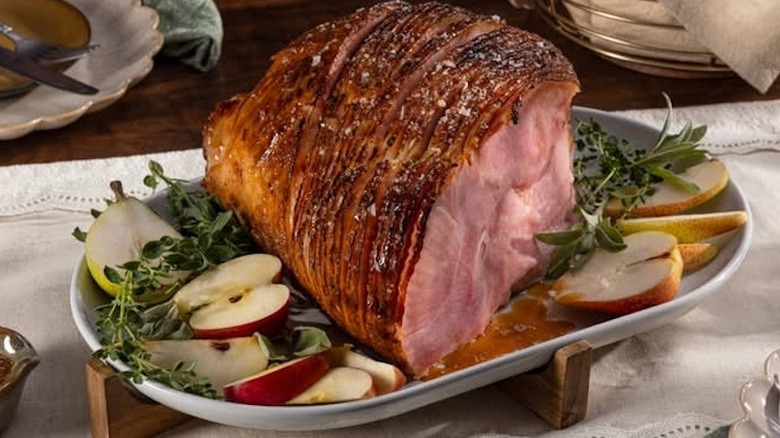
Most hams you find in grocery stores will have a flat side. This is helpful when it comes to cooking — instead of trying to balance the ham precariously on one of its rounded sides, set your ham on its flat side when cooking.
Keeping that flat side down ensures a more consistent glaze. As you brush the glaze on, you'll notice that gravity is your friend as it helps pull that topping all over your ham as it runs down. Not only will this allow for some amazing, fully coated caramelization, but it also helps protect wherever you're cooking your ham from becoming messy as a result of shifting and sliding the meat. When you have to move your ham around — only when absolutely necessary — then you have more control over that warming, caramelizing process.
One final perk when cooking flat side down: You prevent the ham from drying out — and since it has already been cooked, this is always a concern. The flat side down method is a good rule of thumb for cooking the most delectably scrumptious ham.
10. Wrap ham in foil
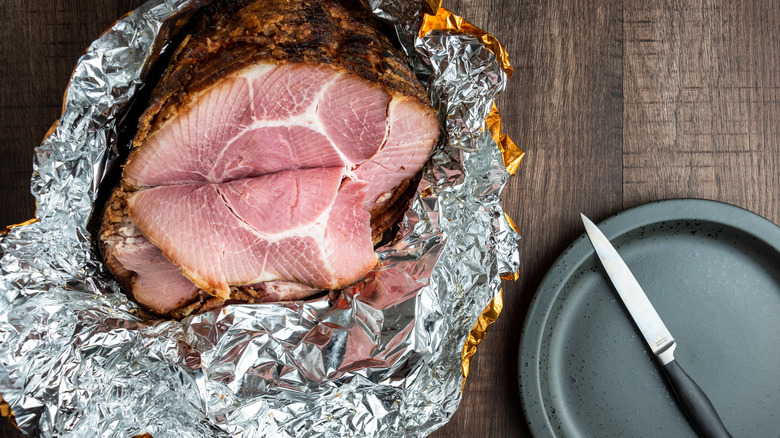
Another way to ensure your ham won't dry out is by wrapping it in foil –not too tightly, but rather like a loose tent over the top. If you've ever made a pie and needed to create a cover to avoid burning, you've experienced something similar. And while you don't want to wrap too tightly, be sure the top of the ham is completely covered. This additional step will seal-in moisture and help you avoid an overly dry product when the dinner bell rings.
If you're choosing to use a glaze — which is highly recommend — you'll remove the foil, add the glaze, and then put it back in the oven. If you notice the glaze becoming too dark, add that tented foil back to the top of the ham — the foil in the latter part of cooking, however, isn't always necessary. Always use your judgment, but know that foil is an excellent rule to follow for moist ham.
11. Follow the bone when carving
It's easy to feel intimidated by carving ham — after all, many people equate it to turkey. But here's the thing: Turkeys can be complicated to carve, but ham doesn't present the same degree of difficulty. The goal is to remove the meat from the bone, and since there's probably only one big bone, it's all the more simple.
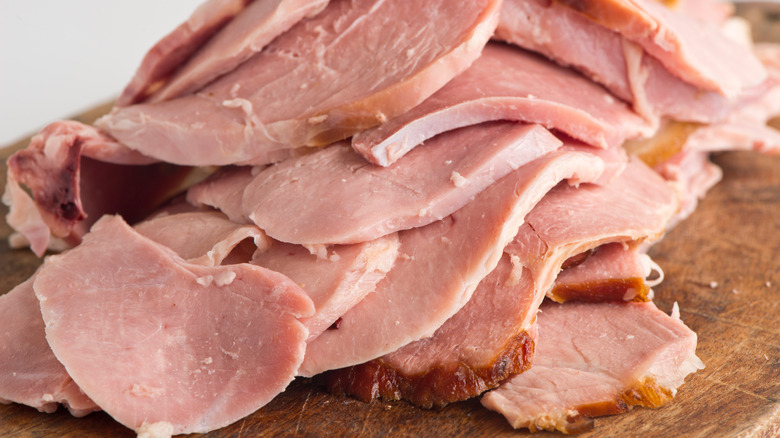
In most hams, there will be a large bone you need to work around, and that — as a general rule — can be your guide for cutting. There's a couple effective ways to cut ham to make it even easier — one is following the bone of the ham with your knife to release the meat; the bone runs the length of the ham. Also, as a rule you'll want to slice long, thin cuts. And cut against the natural grain of the ham. These are the places various muscle tissues connect together, and they create easy access points to cut in order to have the meat fall away. No matter what method you choose, you might have some leftover ham hanging off the bone — this is always excellent to shred or chop up for sandwiches, and it's also great for preparing ham stock, along with soups and stews.
12. Pair with the right wine
Okay, so this rule isn't really about baking the perfect ham but still ... if you (or your guests) enjoy wine with a feast like this, you'll want to pair the delicious ham with the right vino. When choosing wines that go perfect with your ham, steer clear of ones heavy in oaky flavors or that have high tannins. This means you'll avoid bold reds like cabernet sauvignon or even a rich, oaky chardonnay. Instead, choose wines on the lighter side — pinot noir or Gamay will be better choices, for instance. Wines that are overly dry won't bode well for the flavors present in your ham — these will be the worst wines to pair with your ham.
For wine lovers that tend to prefer sweeter options, this is where those choices will shine. Riesling, for example, goes nicely with the already sweet glaze that you're including on your ham, while not adding too much sweetness to the meal. And moscato, sweeter than riesling, is a great option around a beautiful ham table. Cheers!

