3-Ingredient Ice Cream Is The No-Churn Treat You Need To Try
Homemade ice cream is a delightful treat that everyone can participate in making. However, it's also a time-consuming process that can quickly eat up your day. There is a better way, and all it requires is two cups of heavy cream, one can of sweetened condensed milk, flavoring of your choosing, and an optional stand mixer. If you make any substitutions, you'll need to ensure your end product contains at least 10% milk fat to be ice cream, not soft serve.
When heavy cream is vigorously mixed, fat molecules form around bubbles of air, creating whipped cream. However, we aren't looking to just make frozen whipped cream. The sugar in sweetened condensed milk not only makes the ice cream sweet, but it also binds to water molecules, preventing them from forming large ice crystals when frozen. This delicate balance is what makes this no-churn treat creamy rather than a dairy-based block of ice. But you'll need plenty of mixing power to get it right.
While you can make this recipe without a stand mixer, it'll demand one heck of an arm workout. You'll first want to whip the dairy mixture into firm peaks, just short of a meringue. With a stand mixer set to medium power, this only takes a couple minutes. After whipping to the right texture, the real fun begins: adding flavor.
How to flavor no-churn ice cream
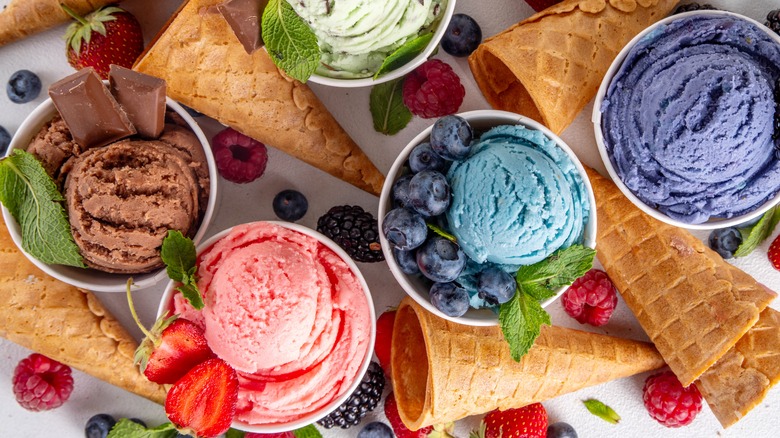
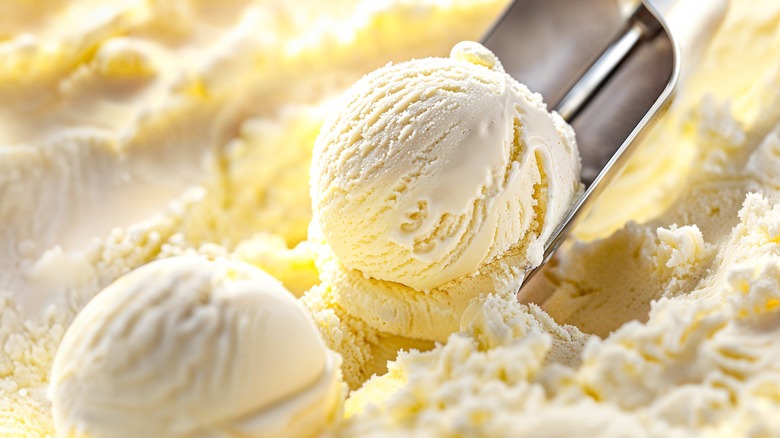
Flavoring no-churn ice cream is an absolute breeze. You should add base flavors, like chocolate or vanilla, before whipping the dairy mixture to ensure it's thoroughly incorporated. For a simple vanilla ice cream, add one vanilla bean pod or two teaspoons of vanilla extract per 30 ounces of liquid. After you whip the dairy, fold in additional ingredients like fruits, syrups, nuts, or even olive oil and sea salt to kick your vanilla ice cream up a notch. There's no wrong answer here, so feel free to grab whatever fruit suits your fancy.
Syrups like caramel, chocolate sauce, or fruit varieties are a bit more complicated. If you want them to add flavor to the whole product, simply stir until there are no visible pockets of syrup left. However, if you want flavorful ribbons, you'll have to mix just enough to incorporate them throughout the ice cream but not so much that they disappear entirely.
After you've assembled your ice cream, freeze it for four hours in a freezer-proof container. You'll end up with a delightful, easy-to-make treat that stays good for two to three months in a covered container.


