The Proofing Tool You Actually Don't Need For Great Bread
When you decide to get into baking, you may be overwhelmed by all the tools the internet tells you you'll need. A kitchen scale? Tons of wet parchment paper? A sharp knife to help you score sourdough bread? A biscuit cutter to help create the roundest cookies? Sure, these tools can make your bakes much better, but you might wonder: Are there any that aren't all that necessary, especially as a beginner? As a matter of fact, yes! When it comes to bread baking, there's one tool that you can remove from your Amazon shopping cart: A proofing box.
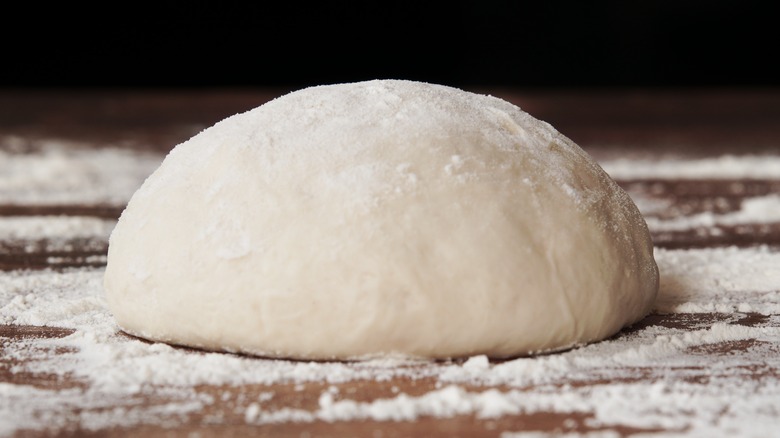
In bread baking, proofing refers to the second (or final) rise that dough performs after the initial rise (sometimes called a first proof) and before it goes into the oven. During the initial rise, the yeast works to help the dough ferment and expand; once that's done, it's molded into its final shape — like a ball or a loaf — and enters a final proof to expand and puff up.
For dough to rise properly in both stages, it needs to be in a warm environment (typically between 75 to 80 degrees Fahrenheit). A proofing box provides the right level of humidity and temperature to ensure your dough proofs properly and is ready to bake. However, you can take some shortcuts to get the perfect final rise without having to invest in a box. One of the most common alternatives is to proof your bread dough in the oven.
How to use your oven to proof bread dough
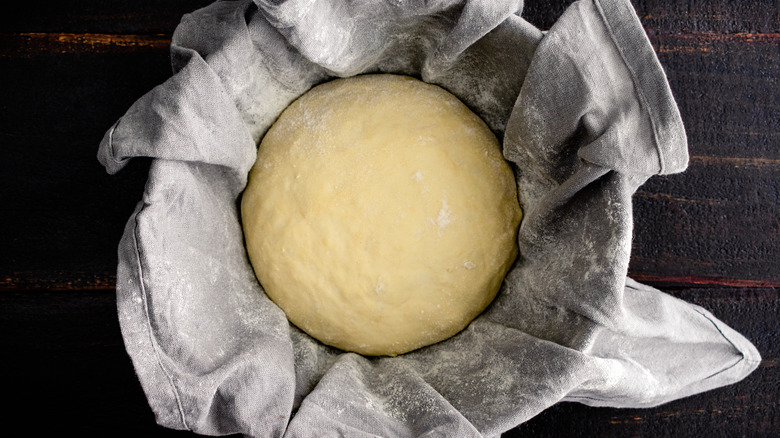
There are various tricks bakers can try when using an oven to proof dough. Perhaps the easiest way is to simply turn the oven light on. Doing this does more than illuminate the inside — it actually warms the oven slightly, creating your own insulated proofing box. When using your oven for the final proof, you can keep the shaped dough right in the vessel you'll bake it in, whether directly on a baking sheet, in a Dutch oven, or in a pan. Whatever you choose, cover it with a kitchen towel to avoid drying out the dough, and place it on the middle oven rack.
When it comes to timing, just go by your recipe, which will usually call for the dough to double in size compared to when it went in. If you live in a particularly dry environment (or if it's a cold winter day), adding some humidity into the oven's environment will help your dough proof faster. To do this, set a glass dish on the bottom rack and fill it with boiling water. Once you shut the oven door, the steam from the water will help create the perfect proof-friendly environment.
Other tips for helping your bread rise
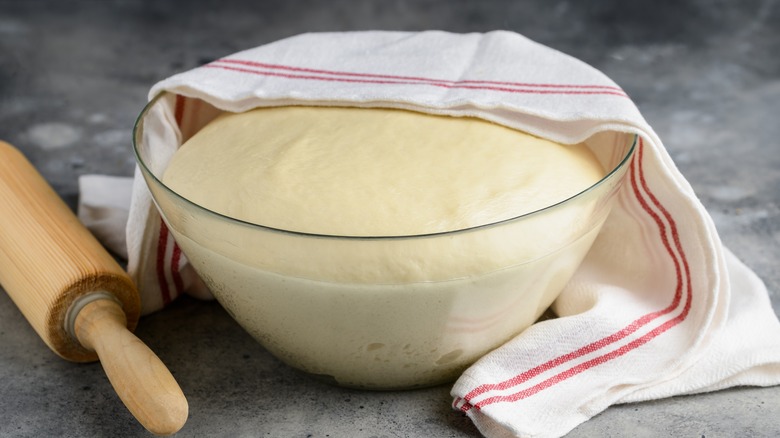
Since keeping your dough warm enough to rise is an important part of proofing, try using a few more tips to ensure a cozy environment for your bread. For example, using lint-free kitchen towels to cover your dough is one surefire way to keep it warm. During the initial rise, cover the bowl with plastic wrap and then place a kitchen towel on top. If it's a really cold day, use more than one towel to dial up the warmth. For the second proof, you can do the same thing — the only difference is that you must shape the dough first.
Another trick to help proof your dough is to use a heating pad on its lowest setting. You can place the bowl or baking sheet right on top (just make sure to put a kitchen towel between the pad and the dough's vessel).
Additionally, making sure your dough isn't over-proofed is crucial to a successful bake. When your dough has proofed for too long, the air bubbles within will pop, causing the bread to lose its structure. You can tell this has happened if you poke your dough and it sags rather than springs back. To fix over-proofed bread dough, punch it down to release the gas, then reshape it and proof it again.