Mason Jar Hacks To Take Your Dishes To The Next Level
Mason jars are traditionally used for canning, but their potential uses are nearly limitless. When it comes to cooking, they are fantastic tools for food storage, meal prep, and quick, easy recipe execution. Many mason jar hacks also improve the quality of dishes, so there's lots to gain from implementing these versatile cooking tools into your kitchen routines, regardless of your current skill level. Whether you already own a collection of jars or are considering purchasing one, the 13 hacks below are sure to transform how you use these handy containers and unlock their true potential.
To find the most helpful mason jar hacks that take your dishes to the next level we searched through YouTube videos, TikTok posts, chef blogs, and more. What we uncovered will not only put your mason jars to good use, but seriously improve the way you make various recipes. Keep reading to find out about all the benefits they pose for you and your kitchen.
Peel a head of garlic in seconds
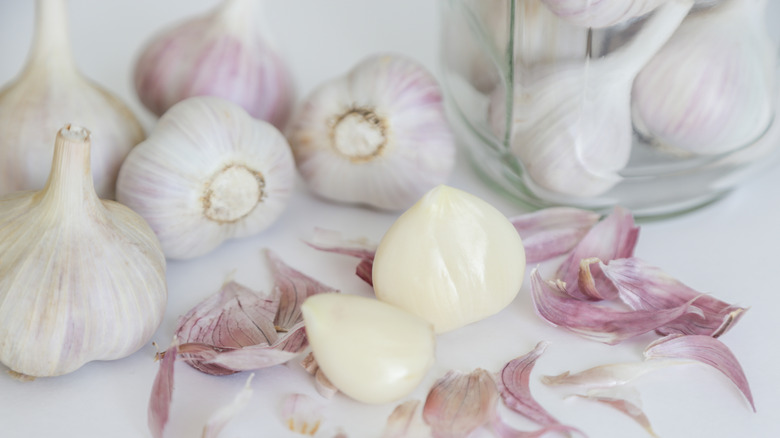
Peeling fresh garlic isn't the easiest task. The sticky skins resist being removed and you're often left with a potent smell on your fingers, plus peeling off garlic skins is fairly time-consuming. Fortunately, there's a chef-approved hack to peel a whole head of garlic in seconds, and yes, it involves a mason jar.
To pull off this nifty trick, start by chopping the ends off of the top and bottom of a head of garlic. Put the entire head into a mason jar and seal the lid. Then, shake it with abandon. In about 20 seconds you'll notice that the skins have separated from the cloves. Take the lid off of the jar, remove the skins, and the cloves are ready to go into any recipe — it's that easy. This mason jar trick also works with individual cloves of garlic, but if you need a significant amount, go ahead and toss the entire head into the jar.
While there are several techniques for peeling garlic, the mason jar hack provides you with whole, peeled cloves. Crushing cloves with your knife leaves behind mangled cloves, which is fine if you're going to dice them up anyway, but starting with whole cloves is better for some recipes. In addition, the mason jar garlic peeling trick allows you to simultaneously remove the skins from an entire head of garlic, instead of having to do each clove individually.
Shake your way to delicious salad dressings
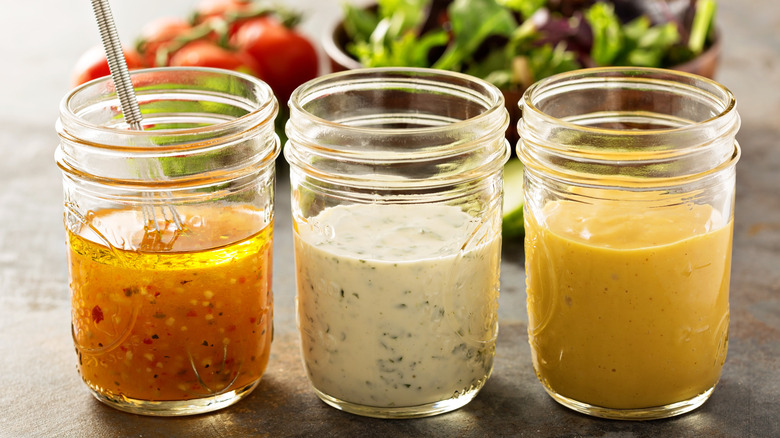
Often, making salad dressings from scratch seems somewhat labor-intensive. You have to combine the ingredients just right and whisk or blend them quite a bit. Besides, there are so many delicious options you can buy pre-made from the grocery store. However, this next hack may just change how you feel about whipping up homemade salad dressings.
Instead of breaking out the immersion blender or a tricky-to-clean whisk, you can mix the ingredients right in a mason jar. With a sealed lid, shaking salad dressing ingredients vigorously allows you to execute the same task effectively and efficiently. In addition to being quick, easy, and mess-free, another great thing about this mason jar hack is that it makes for convenient storage. When you're done enjoying, any leftover salad dressing is already in a sealable container. Just put the lid back on and store it in the fridge.
You can make just about any kind of salad dressing you like in a mason jar. Start with a simple salad dressing recipe that only contains vinegar, olive oil, lemon, honey, and a few seasonings. Then, once you're hooked (which probably won't take long), you can branch out and start experimenting with more creative ingredients like overripe fruit for a tangy dressing or creamy elements.
Quickly create whipped cream
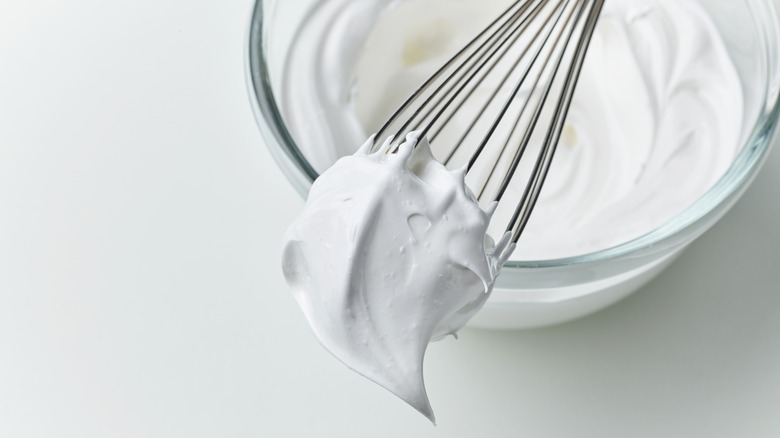
Whipped cream is another one of those ingredients people often buy pre-made from the grocery store. Still, the canned stuff is not nearly as creamy and delicious as when it is made fresh. You may think you need fancy tools or skills to make whipped cream at home, but that couldn't be further from the truth. All you need is a mason jar, heavy whipping cream, powdered sugar, vanilla extract, and a couple of minutes. Fill your mason jar halfway with the ingredients mentioned (any more and it won't expand), seal the jar, and give it a good shake. In about 60 to 90 seconds, you should have a jar of whipped cream.
To make things easier, some cooks recommend putting the half-filled mason jar in the freezer for about 15 minutes before shaking. When the cream is cold it catches and holds air bubbles much easier. As a result, you get whipped cream faster. You can still make whipped cream without briefly freezing the ingredients first, but the colder the better.
After you pass the 60 second mark, you can keep shaking until you get the consistency you prefer; it gets thicker the longer you shake. Just check it every 30 seconds because, if you go too far, you'll make butter. As it turns out, this is another handy way to hack your mason jar, and fresh butter is delectable (keep reading for more on that), but no one wants butter if they're trying to make whipped cream.
Whip up fresh butter
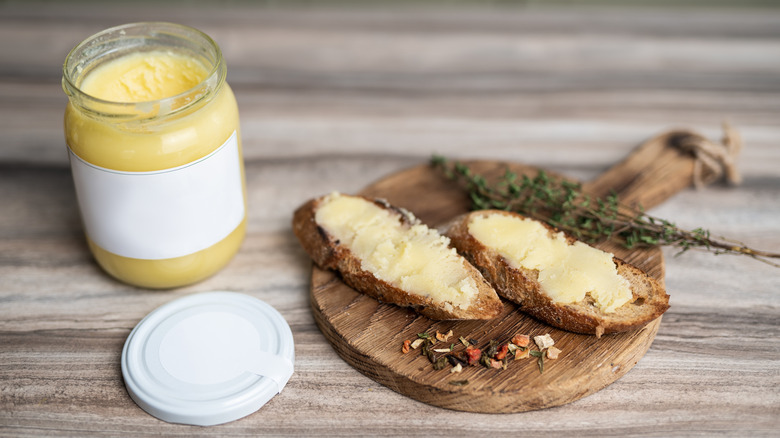
There are plenty of reasons to churn your own butter; one being that it is incredibly easy, especially with help from a mason jar. In fact, it's so simple, that you'll probably be surprised once you learn how to do it. First, add 1 cup of heavy cream to a 1-quart mason jar. Secure the lid and leave it to sit overnight. When enough time has passed, it's time to churn, or in this case, shake until it turns into butter. In general, this should take about 10 minutes, but it all depends on how hard and quick you are shaking the jar. When the liquid inside is separated from the butter, strain it off and you have a nice chunk of fresh butter.
Another reason making your own butter is so great is because you also wind up with usable buttermilk. The liquid you strained off of the butter in the final step is buttermilk, and you can feel free to add it to any recipe that calls for it. It might not look as clean as the buttermilk you buy from the store, but any discoloration you see is just leftover butter, so no harm, no foul.
Make Greek yogurt
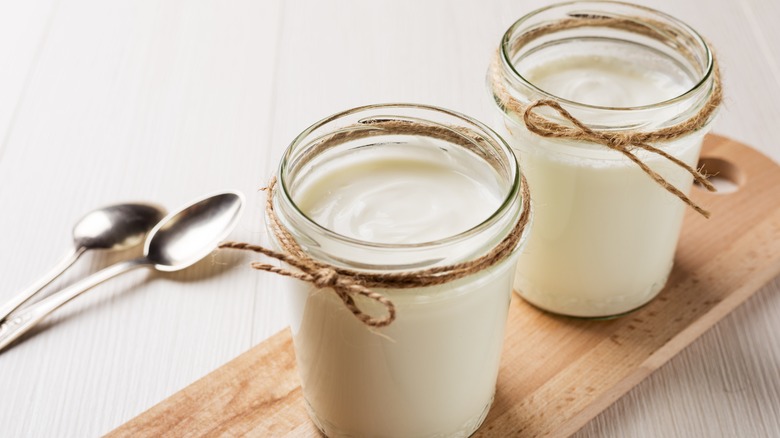
Making homemade yogurt requires a few precarious steps, but if you do them right, it really pays off in the end. One way to streamline the process is to put everything in a mason jar. Your typical homemade yogurt recipe, like the one your grandmother used, calls for boiling milk in a pot. However, you can also boil the milk in mason jars if you place the jars in a bath of boiling water. This minimizes the mess and leads to faster results because there's no need to transfer it to jars for storage and refrigeration.
Conveniently, the mason jars also make straining whey off of the cooked milk incredibly easy and potentially much less messy. After all, straining it through cheesecloth tends to be the messiest part of the whole process. As opposed to trying to precariously hold cheesecloth in place over a bowl while pushing the mixture through, you can easily attach a small piece to the top of a mason jar. Just leave out the center part of the lid. Place cheesecloth over the top, screw the lid's ring into place, and turn the jar upside down. All the liquid inside will drain out, leaving you with tasty Greek yogurt.
Keep leafy greens and cut fruit fresh for longer
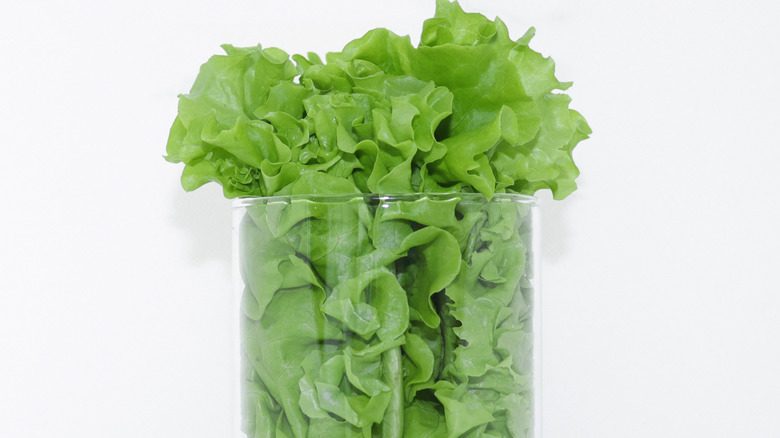
Leafy greens are versatile and nutritious, but they're also super perishable. If you've ever bought a large container of lettuce and failed to eat it all before it starts to become slimy, wilted, and discolored, you know what we mean. Even with our best intentions, sometimes leafy greens just don't last until we get a chance to eat them all. However, wilting will be a thing of the past if you store your lettuce in mason jars. A properly sealed mason jar keeps unwanted air out, helping to preserve whatever is inside, lettuce included. When a jar is stuffed, sealed, and kept in the fridge, your leafy greens should last for as long as two weeks. Of course, you'll need a large mason jar to store a significant amount, but thankfully, they come in all different sizes.
Just like leafy greens, fresh cut fruit perishes quickly. If not eaten fast enough, which sometimes is only within a day or so, cut fruit starts to become soggy and turn brown — you've likely seen this happen to sliced apples before. Sometimes cutting up fruit in advance is easier though. Fortunately, cut fruit also lasts longer when kept in a mason jar. Really, any airtight container will do, but mason jars won't stain like plastic when juicy red berries are kept inside.
Cook single-serving baked goods
Single-serving baked goods are not only easy to make in mason jars, they're also pretty darn cute. Whether you're trying to control portion size, serve them to guests at a party, or simply want self-contained, ready-to-pop-in-the-fridge baked goods, mason jars are key. They can be baked with the ingredients straight in the jar. Plus they provide you with a front row view of how the interiors are cooking, something traditional baking pans don't allow.
If you want to start simple, try pushing a single pre-made cinnamon roll into a jar and baking. You'll be amazed at how easy it is. You don't have to limit yourself to store-bought concoctions — really, the sky's the limit with this hack. Anything from cornbread to pot pies to personal lasagnas and chocolate cake can be baked in a mason jar. You can also bake mini tarts in the lids, or even use the lids to hold muffin cups if you don't have a muffin baking tray available.
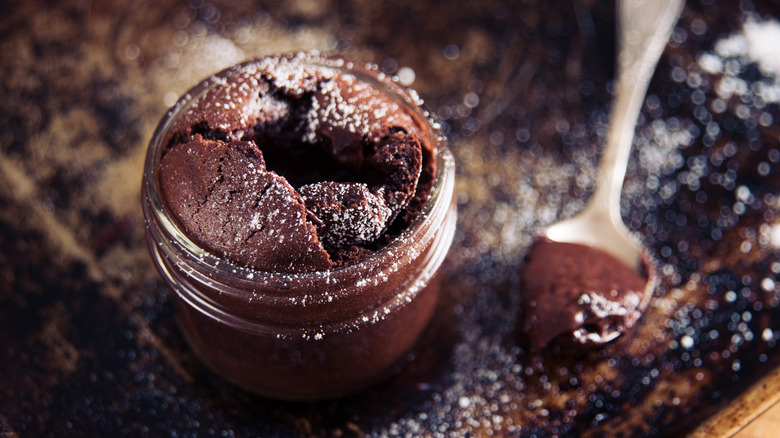
Make cheesecake the quick and easy way
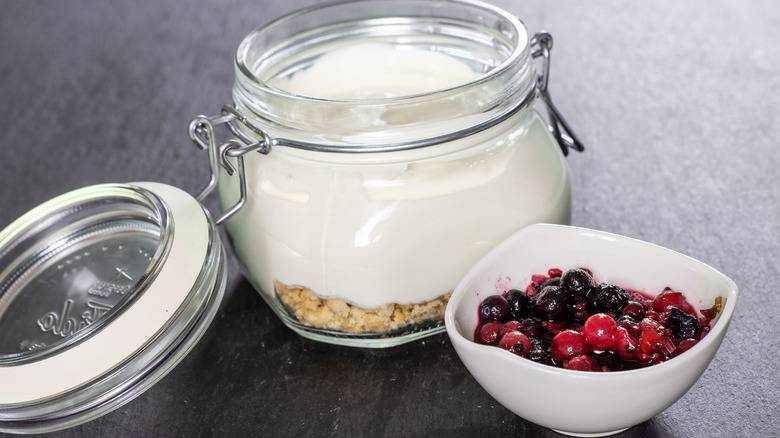
Surprisingly, cheesecake doesn't have to be baked. There are actually two methods for creating this drool-worthy dessert; one that requires baking and another that does not. Some say baking leads to a better texture, but the no-bake method is the easiest, fastest way to make cheesecake.
When you opt to go the no-bake route, you can make cheesecake in just 60 to 90 minutes. The 60 minute version turns out more like custard, but either time frame results in a decadent dessert. Of course, you'll need a few minutes of prep time too, and the cute jarred cheesecakes will need to chill in the fridge before enjoying (30 minutes or more). Still, this method is relatively quick and straightforward.
Similar to mason jar Greek yogurt, making cheesecake this way requires you to cook the ingredients in the jars which have been placed in a bath of boiling water. You'll need to blend or food process the ingredients together first before pouring them into the mason jars, but once they're in, the hard part is over.
Brew cold brew coffee
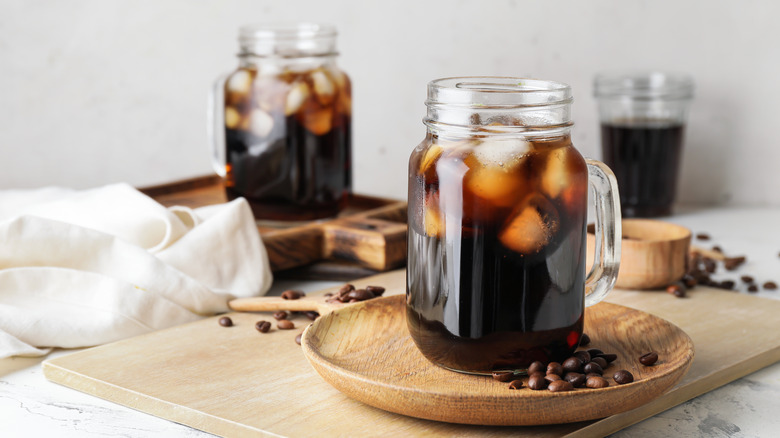
There are lots of ways to make cold brew coffee. Some brewing methods involve fancy contraptions, but really, all you need is a mason jar, a coffee filter, and some time. If you're just starting to experiment with making cold brew coffee at home, this is a great way to warm up to the idea without spending any money on elaborate devices. You can add this trick to your growing arsenal of handy ways to use mason jars around the kitchen.
To make cold brew coffee in a mason jar, start by filling your jar with cold water. Place a coffee filter over the top of the jar and create a small bowl shape by pushing the middle down. Next, put some ground coffee beans in the crater. The amount you use will vary based on the size of the jar and how strong you like your coffee, but we recommend using a bit more than you would for the same amount of hot brewed coffee. This helps ensure you get a rich taste, even without the hot water to aid in the brewing process. Then, screw on the lid over the filter, and place the jar in the fridge for 12 to 24 hours.
Bake perfect eggs in the lids

Typically, it's the actual jar that enables a handy kitchen hack, but the lids are incredibly versatile and useful too. A great example of this is baked eggs. The metal ring part of mason jar lids is safe for baking, and they actually work really well as a mold. You have to leave the flat center part of the lids out of the equation for this one so the rubber and plastic lining doesn't melt, but that's fine. All you need to create beautifully shaped baked eggs is the outer ring and a baking sheet.
If you want to give this hack a try, line up some lid rings on a baking sheet. The regular-sized lids are perfect (the wide-mouthed ones may be too large). Spray the lids with a light dusting of cooking oil. Crack one egg into each ring and bake for 10 to 15 minutes at 325 degrees Fahrenheit. Once they start to bubble, they should be good to go.
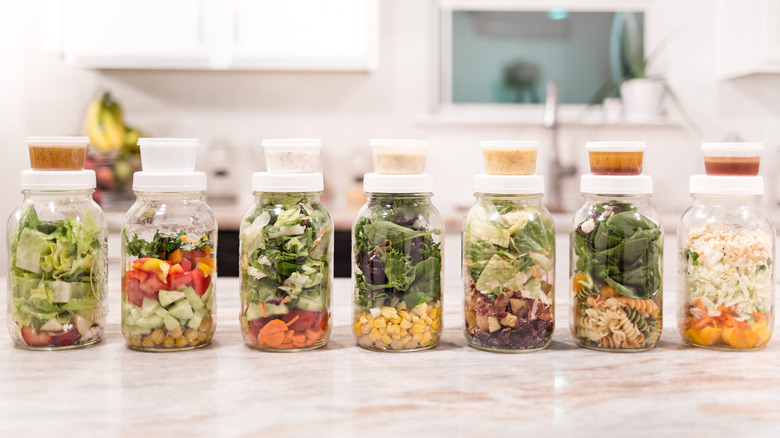
Concoct your own instant noodle cups
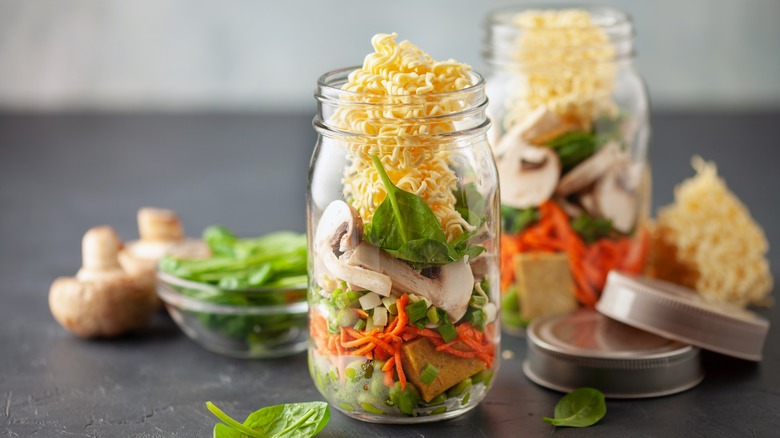
One of the most common ways people use their mason jars, other than for canning, is meal prep. They are great for managing portion control, reducing the amount of plastic in your kitchen, and ensuring a leak-free seal. They're also perfect for layering salads, grains, parfaits, and more. One of our favorite meals to put in a mason jar is a build-your-own instant noodle cup. Not only does it allow you to add a broad range of hearty ingredients, but it also gives you free reign over the seasonings. As a result, it's pretty much guaranteed to be miles ahead of any kind of pre-packaged noodle cup you buy at the store.
Making an instant noodle cup is as easy as adding chopped veggies, a bouillon cube, noodles, and seasoning to a jar. You can use any veggies, seasonings, or thin noodles you like. When you're ready to enjoy it, simply pour boiling water into the jar and wait a few minutes. If the noodles aren't cooked through, just toss the jar in the microwave for a minute or so.
If you like to buy instant ramen packets from the store, you can still use them to create heartier cups. Just break up the noodles enough to fit into the jar and substitute the bouillon cube for the seasoning packet. You could even make an instant pho cup by switching up the noodles.
Create homemade ice cream without a machine
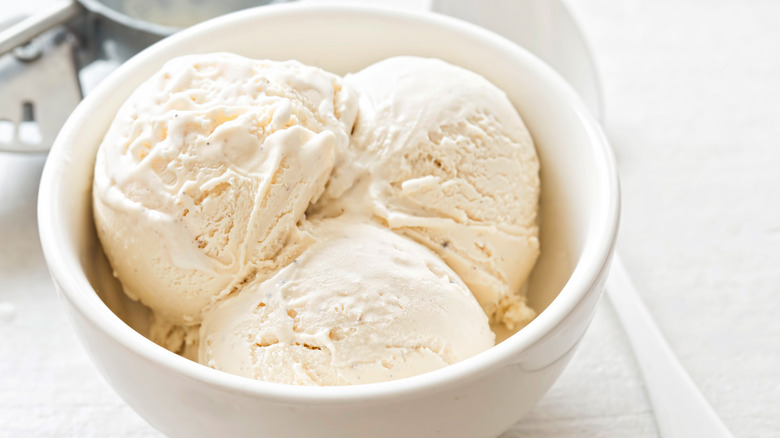
When most people think of creating homemade ice cream they imagine having to use a machine. While ice cream machines work really well and minimize manual effort, mason jars are a fantastic option for anyone who doesn't have a machine or wants to avoid cleaning lots of extra parts.
Start by filling a mason jar halfway with heavy whipping cream. You want to make sure you leave enough room for shaking and expansion so your ice cream gets the right texture. Next, add your sugar and vanilla extract. You can also add flavors at this point, but with just three ingredients you'll wind up with tasty vanilla ice cream. Securely close the lid and start shaking the jar. Anywhere from two to five minutes should be enough, but it all depends on how much effort you put into shaking. Once the liquid stops sloshing around inside the jar, open the lid and take a peek. If the cream has expanded to almost fill the jar (remember it was just halfway full at the start), it's ready to go in the freezer. After a few hours, it should be sufficiently frozen and ready to enjoy.
You can also make ice cream using only a stand mixer, but with mason jars, the ice cream is already in a sealable container ready for the freezer. You can eat it straight from the jar as well!
Make scrambled eggs fluffier and faster
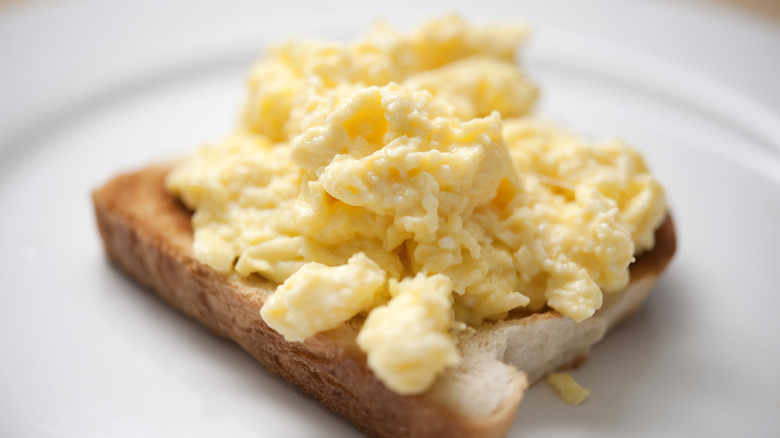
One of the best mason jar hacks makes scrambled eggs fluffier, faster. Scrambled eggs are relatively simple to make in the first place, but being able to make them fluffier and faster appeals to everyone. Instead of putting your cracked eggs in a bowl and whisking, simply put them in a mason jar, secure the lid, and shake vigorously. After about 20 seconds, they should be ready to pour into a hot skillet and fry up.
In addition to making fluffy scrambled eggs, you can also use mason jars to make coddled eggs. Coddled eggs are cooked in hot (but not boiling) water. Essentially, they are steamed. You typically need to purchase a specific dish called a coddler to get the job done. However, a mason jar is a fantastic tool to use instead. When placed in a nearly boiling water bath with a lid, it's kind of like a double boiler. This style of cooking produces softly cooked eggs with a silky texture.
If you prefer your eggs cooked a bit more, you can also mix up and cook omelets in mason jars. Simply fill a greased jar with whipped eggs, milk, and any omelet toppings you like. Make sure to leave room at the top of the jar to account for expansion during baking. Place the jar or jars (without lids) on a baking sheet and bake on a tray for 25 to 30 minutes at 350 Fahrenheit.