How To Salvage Undercooked Bread (And Avoid Burning The Top)
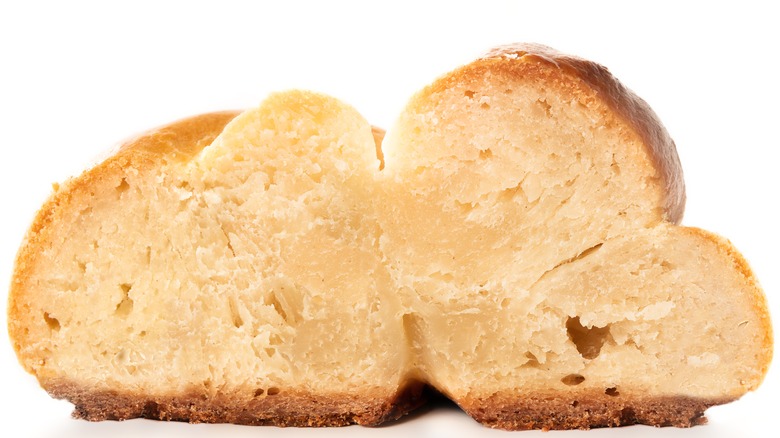
Staring down at a loaf of bread, it's tempting to wish for X-ray vision. No matter how closely bakers follow a recipe or monitor their timers, there's still a chance that their honey whole wheat or Øland wheat bread will emerge undercooked. Rather than discarding the bake or relegating it to breadcrumb duty, try salvaging it.
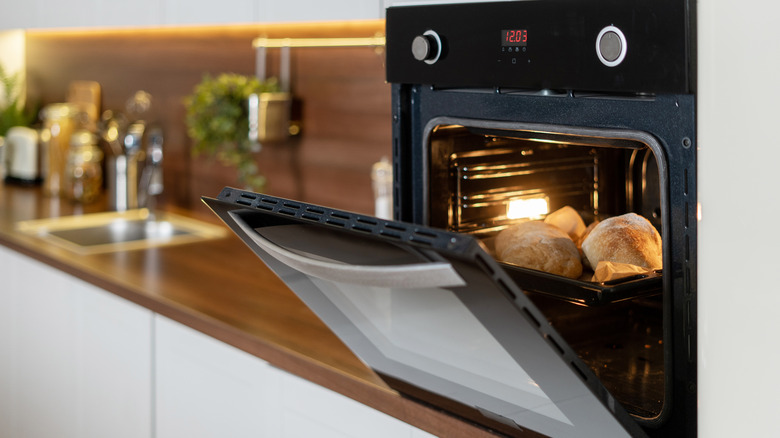
After you slice into your round and realize it's gummy, turn the oven back up to 350 degrees Fahrenheit. No need to crank it higher — the extra heat will only encourage the exterior to burn. Then return the loaf for an extra 10 to 20 minutes. If you notice the top looking prematurely toasty, treat it like a turkey and cover the top loosely with aluminum foil to avoid burning the crust.
Although the method is similar to finishing partially baked bread, it differs in that par-baked loaves are usually started at lower temperatures and browned at the end. This means your loaf may be prone to a bitterly browned crust or slight dryness with the extra heat, so keep a close watch as it finishes.
That said, the slow heat can salvage bakes no matter when you notice a gummy, underdone middle. Whether you clock the issue the next morning or after it's had a long sit in the freezer, you can pop the crusty bake back in the oven once more.
Determining if your bread is done baking
Sadly, this solution only works on boules and loaves that have had time to mostly cook through. If runny dough comes spilling out of your bread, particularly raw egg-enriched dough, a trip to the oven won't do any good. That's why it's important to know how to check your bread and take it out at roughly the right moment. Of course, this is easier said than done.
Checking your bread for doneness is surprisingly tricky. That's in part because its steam and starch need time to disperse and set up after it leaves the oven. Just like the torturously tempting step of resting meat after cooking, you'll want to resist immediately slicing open fresh-baked loaves. Allow them to cool for 30 minutes to a few hours, depending on size and flour type. Rye flour-based mixtures develop more flavor when given a whole day to settle, but all types of bread need a little extra time out of the oven to gain structure and shake off any gumminess.
For that reason, home cooks can turn to their trusty digital thermometers to ensure they're not underbaking. Many recipes will include an ideal internal temperature, but the rule of thumb is to aim for 190 degrees Fahrenheit for yeasted rolls and loaves, 200 degrees Fahrenheit for enriched doughs, and 205 to 210 degrees Fahrenheit for sourdough. Bakers can also build their instincts by using methods to test bread for doneness without a thermometer, too.
Setting breads up for success
To prevent flabby crusts, burnt edges, and gooey centers, you'll want to set your dough up for the smoothest bake possible. One way to ensure your process matches the recipe is to use the correct pan. Different materials, like metal, conduct heat faster than others. For quick breads and yeasted sandwich doughs, this can make all the difference. Skip the glassware, which is slower to come to temperature and could throw your cook off-track.
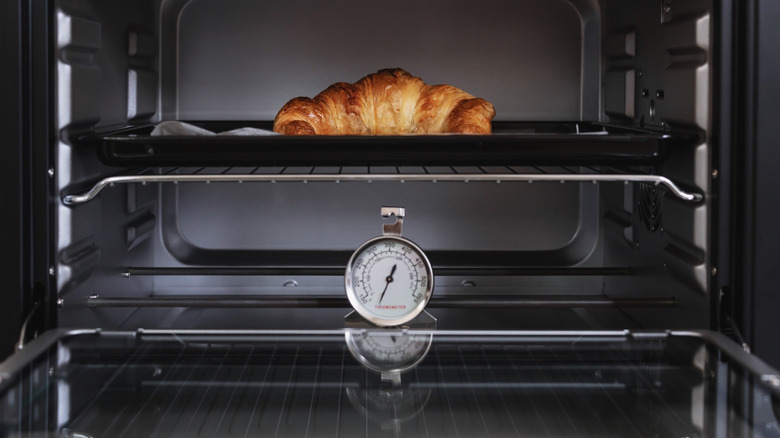
Though it's important to ensure your food thermometer is calibrated, don't overlook the oven itself. If you're noticing none of your bakes have the browned exterior you'd expect, it's possible the appliance itself is off. Check the temperature with an oven thermometer, or try running an experiment and toasting a sheet pan lined with bread slices to see if the heat is dispersing evenly.
Finally, double-check that your starter is active, and you've accurately measured wet ingredients. Extra moisture and a stodgy ferment can lead to a disappointing bake and blackened crusts. Use a digital scale and make sure your starter is robust and bubbly before using it. That said, if you do everything right and still have an off day — learn from the missteps and make the best of your undercooked attempt by slicing it and firing up the toaster or griddle.


