Martha Stewart's Timing Advice For Golden Brown Pie Crust
Even the most seasoned bakers have probably struggled with pie crust before. There are so many ways you might make mistakes along the way, such as not chilling your ingredients thoroughly, overworking your crust during the kneading stage, or underbaking and ending up with the dreaded soggy bottom. With so much room for error, it can be daunting to even decide you want to embark on the journey at all. Thankfully, Martha Stewart has a simple tip that can make the process easier. The homemaking maven has several pieces of advice that can help you bake a delicious pie every time.
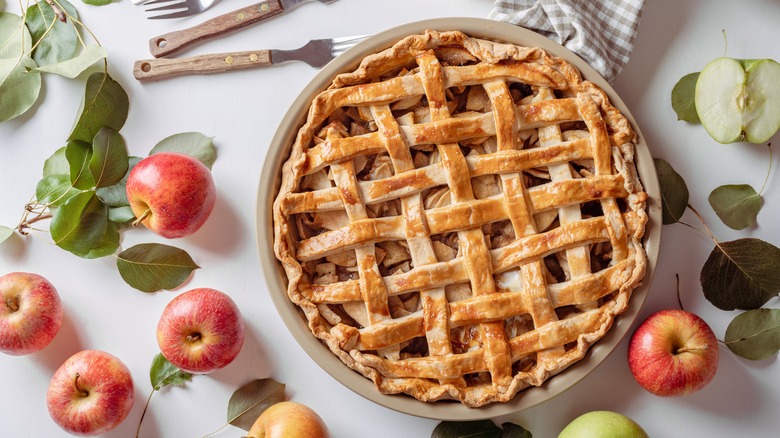
Stewart says the trick to perfectly-cooked pie crust is to worry less about overbaking, as this fear can cause you to pull the pie out of the oven too soon. Rushing simply isn't an option if you want that flaky, crisp finish. Even if you've baked the pie for the time listed on your recipe, Stewart says that pie crusts "should be baked until they're really a good color golden-brown. That may seem like a very long time, but that will definitely be worth it in the final product" (via Food & Wine).
It might feel risky at first, but use your senses instead of relying solely on the baking time listed in your recipe. Your pie is done when it looks done, and not a moment sooner.
Trust your eyes over your timer
Recipe developers work hard to settle on a baking time and temperature for each dish, so that others can recreate them at home. However, not everyone bakes under the same conditions. Many home ovens are not calibrated correctly, resulting in a difference between the temperature you set them at and the actual temperature inside. It's also possible that the airflow inside your oven is different, which can result in uneven heating and "hot zones" or "cool spots" in your oven.
This is why it's smart to approach baking as a sensory experience. You may need to follow recipe quantities and almost every step in your recipe T, for some but some tasks — such as kneading dough to a certain consistency, and baking your final product to finish — trust that your eyes know better.
According to Martha Stewart, you'll know your pie crust is done when it achieves a robust golden-brown color. If the crust is browning too quickly and your filling isn't done yet, cover the edges of the pie with aluminum foil. If one side is darker than the other, rotate the pie dish mid-bake to help distribute heat more evenly. And if you're using a high-moisture filling, like in pies made from frozen fruit, consider parbaking your crust with metal or ceramic pie weights on top, to allow the bottom extra time to crisp up. Once the filling and crust achieve their ideal colors, you know your pie is ready.
Extra tips to enhance pie crusts
If you're still feeling anxious, fear not — Martha Stewart has even more advice on how to ensure your pie crust comes out perfectly. Firstly, start with fresh, high-quality ingredients. Pie crusts don't use many ingredients, so there's no room to hide low-quality ones. Choose the best unsalted butter you can find, and make sure you aren't using dry ingredients that have been languishing in your pantry for years.
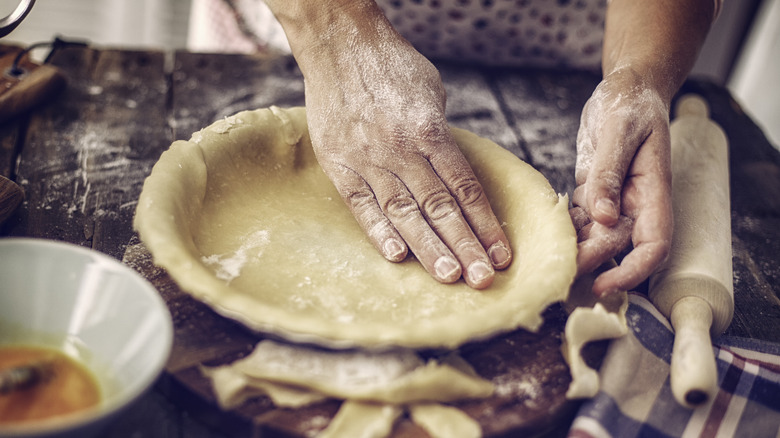
To prevent your crust from becoming tough or dense, you also want to make sure the dough is kept cold at every stage, and don't overwork it. Start with cold butter, and mix the ingredients with your hands or in a food processor until just combined. If the dough starts to feel warm, take a break and chill it in the fridge, then resume kneading. A few minutes of chilling will get you back on track to flaky crust perfection.
Once the dough is ready, shape it into a disk and wrap it in plastic wrap, then chill for at least an hour — or overnight — before rolling it out and placing it into your pie plate. For an even more stunning finished product, Stewart recommends sprinkling sugar onto the crust before you put your pie in the oven. This adds both visual appeal and an extra sweet crunch to enjoy when you eat it.


