How To Take A Gas Stovetop Apart For Proper Cleaning
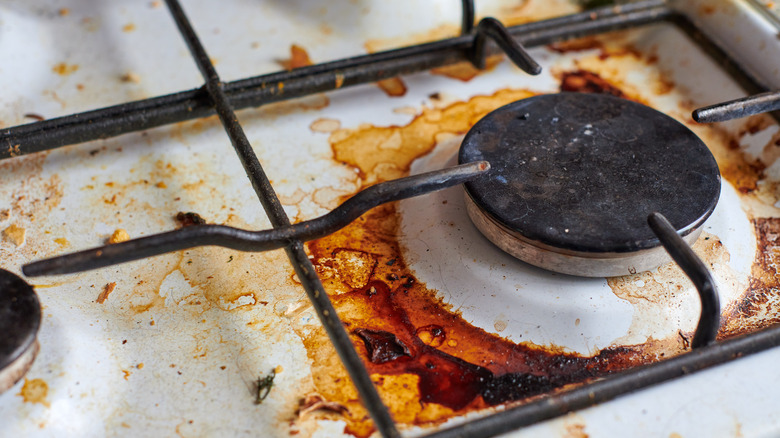
Whether you prepare dinner every night or have a budding gourmand who loves to cook but not clean, your stove needs a little TLC occasionally. Unlike electric or induction, where messes are easy to address, gas stovetops are trickier and more challenging to return to their former glory if neglected. If your stovetop is greasy with burnt-on messes or your burners are clicking incessantly, here's how to take it apart for proper cleaning.
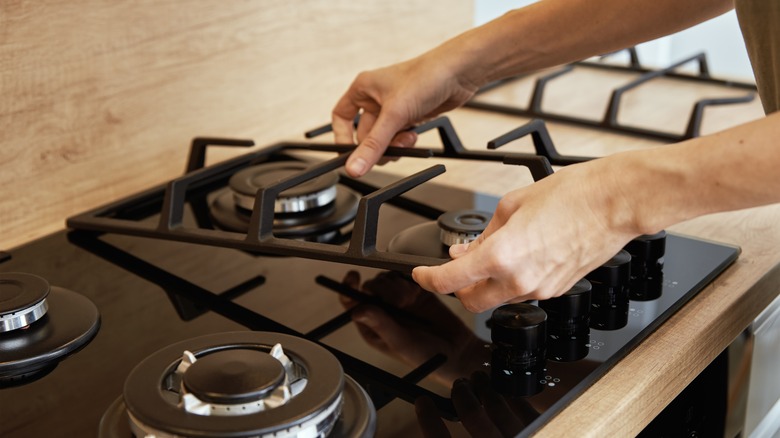
Before cleaning, ensure the burners are cool and turned off. If your gas range has a safety lock, use it to prevent accidentally turning a burner on as you scrub or detach the knobs. Remove the stove's grates, burners, and burner caps. Wipe off loose debris and set the grates and caps in the sink. Depending on how dirty they are, you can either fill the sink with hot, soapy water and allow the parts to soak for 15 minutes while you clean the range, or if the dirt is really baked on, spray them with a degreaser.
Place the burners on a dish towel to tackle later so they don't scratch the countertop. Over time, unattended spills get baked into the surface each time the burner is turned on, so roll up your sleeves and get ready to degrease the stovetop.
Cleaning the stovetop surface
Evenly spray the gas stovetop's surface with a degreaser and give it 15 minutes to penetrate or make a paste using one part white vinegar, two parts baking soda, and a drop of dish soap. Use a soft sponge to break apart the grease, wiping away any dislodged food with a paper towel as you work. Although tackling these spots with an abrasive sponge or cleaner is tempting, you risk chipping the coating. It's best to repeat the process, removing caked-on grease a little at a time so you don't scratch and damage the stovetop's surface.
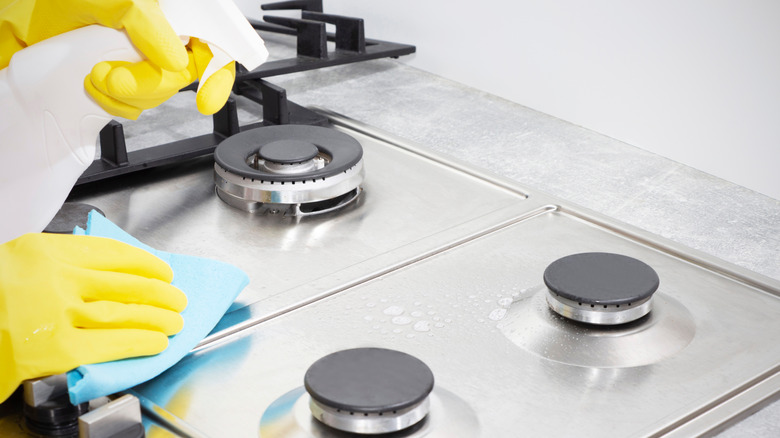
Use a toothbrush to work the paste into hard-to-reach areas, or try a Magic Eraser for stubborn areas. If that still doesn't do it, use a plastic knife to scrape the dirt, then reapply the degreaser or paste and let it sit. Using a sharp razor blade may help, but it could leave scratches behind, which may bother you more than the evidence from frequent cooking. Once cleaned to your satisfaction, rinse the surface to remove any degreaser, then give the surface a spritz with glass cleaner to make it shine.
Before cleaning the burner heads, check the owner's manual for instructions to prevent damaging the parts. Avoid using chemicals on the heads since they come in contact with fire. Use a toothbrush or nylon brush with white vinegar to remove food and, if necessary, a safety pin to dislodge clogged holes.
Reassemble and maintain
Once all the parts are clean and dry, reassemble the stovetop. If the burner doesn't light, ensure the caps are sitting correctly. The ignitor may have gotten wet during cleaning if it still won't light. Shut off the gas and allow it to dry out before trying again. If a burner is still clicking, debris may be left on the burner heads. Try using a cotton swab dipped in rubbing alcohol and ensure the holes are clear. Again, allow it to dry before igniting.
Daily maintenance will prevent you from having to deep clean the stovetop often. After cooking, allow the stove to cool completely and wipe away any spills and rogue food particles with an all-purpose cleaner and soft sponge. Check the owner's manual to see if the grates and caps are dishwasher-safe. Removing grease before it hardens onto the surface from continual cooking will save you time down the road and keep the stovetop looking new.
If that ship has sailed, stovetop covers can be purchased to cover unsightly surfaces or protect new ones from soiling. They retail between $10 for a single burner and $20 to cover the entire surface.


