Classic Crisp Vanilla Tuile Recipe
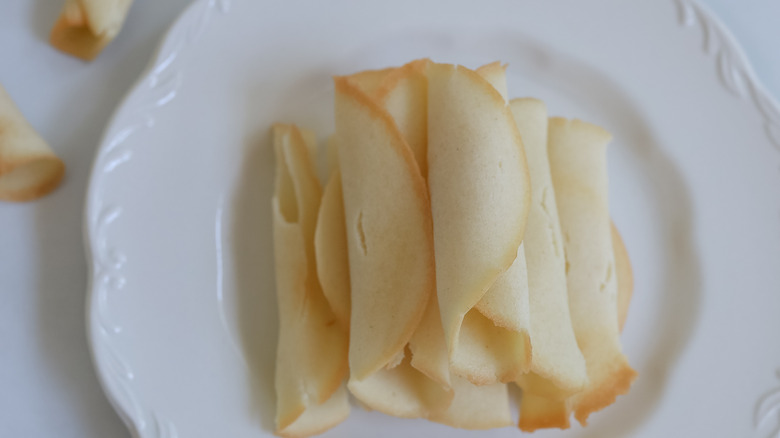
While tuiles are quite simple and plain, recipe developer Jessica Morone calls them, "really fun little cookies," as she explains that they can be flavored and shaped in different ways. While she is opting for a classic vanilla flavor here, other types of extracts such as almond, lemon, or mint could be used. As for shaping, Morone tells us "I rolled mine up, but you could also form them into little bowls, tacos, or even flower shapes if you are very ambitious."
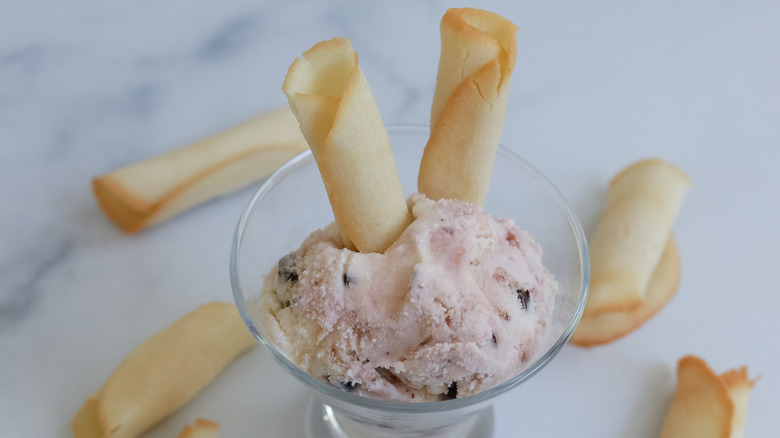
Morone says of these cookies, "While you can definitely eat these on their own, tuiles are also frequently used to accompany another dessert, like as a garnish on a cake or in ice cream or mousse." She also suggests that if you do shape them into rolls or cups, you could fill them. Among her recommendations are chocolate mousse or pastry cream (chiboust, anyone?), while sweetened whipped cream or jam are other possible options.
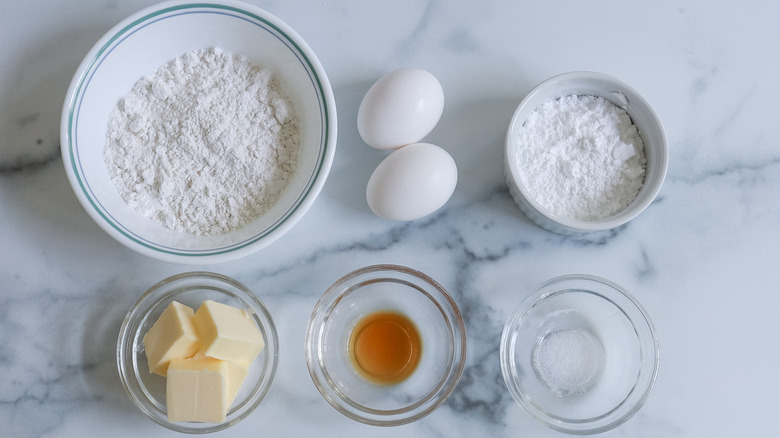
Collect the ingredients for classic crisp vanilla tuiles
As Morone says of her cookie creation, "The recipe itself is really simple; just a few ingredients." The base is egg whites, butter, and flour, while the cookies are sweetened with confectioner's sugar and flavored with vanilla extract and a tiny pinch of salt.
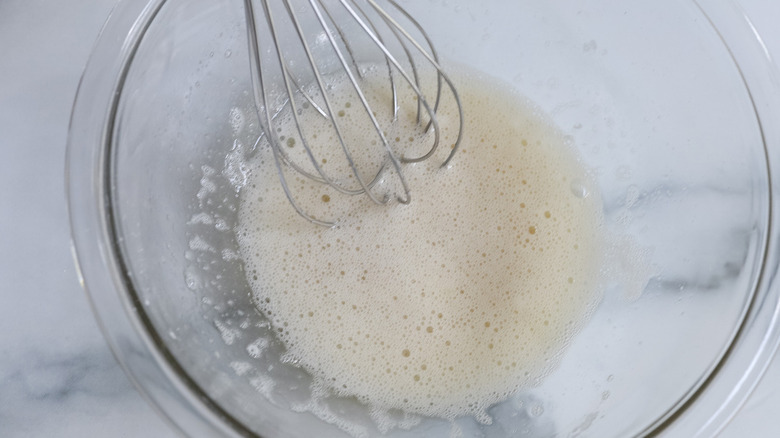
Make the cookie batter
Set the oven to 400 F so it can heat up as you prepare the cookies. Once that's done, beat the egg whites with the sugar and vanilla. When the mixture is frothy, stir in the melted butter along with the flour and salt. Stir the batter until it's nice and smooth.
Shape and bake the cookies
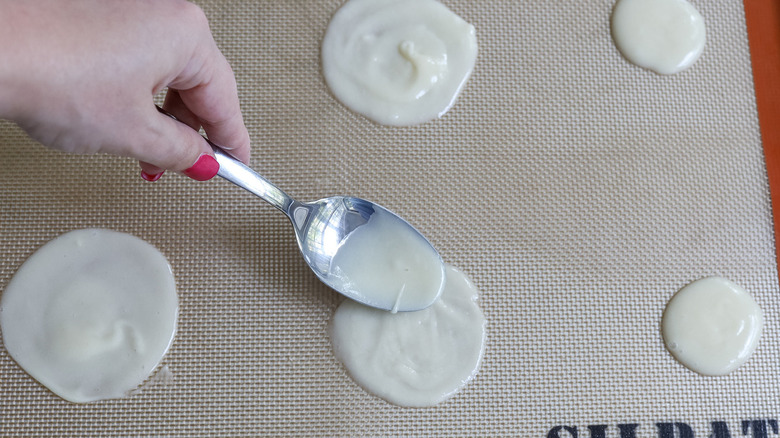
Line several baking sheets with parchment paper or silpats and drop about 6 teaspoons of batter onto each sheet. Spread the cookie batter out to make 3-inch circles which should, in Morone's words, be "nearly transparent." She explains, "If it's too thick and doesn't bake long enough, it won't hold its shape if you try to shape it."
Bake the cookies for 6 to 8 minutes. When they are done, the edges should be golden brown and the middles might be brownish, as well. If you'll be re-using a baking sheet for a second batch of cookies, make sure it is completely cool before you do so.
Shape and cool the cookies
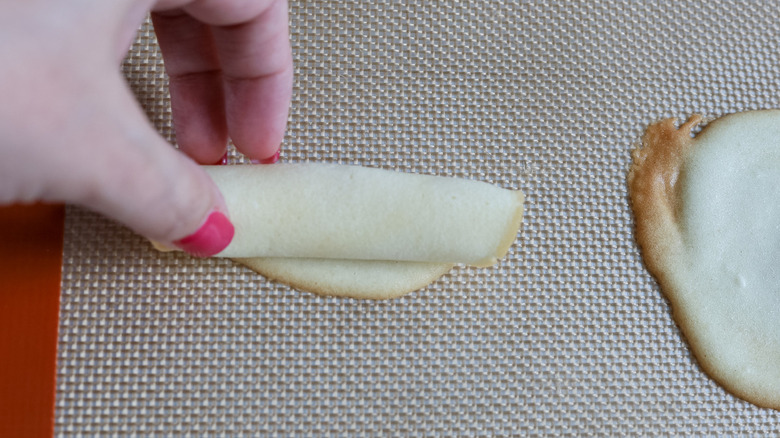
If you want to have shaped cookies, you'll need to form them as soon as they are out of the oven and still warm and malleable. Cylinders are easy, as you can either just roll the cookies up with your hands or use a rolling pin to shape them. If the cookies become too brittle and start to crack, put them back in the oven for 15 to 20 seconds as this will soften them back up to a certain extent. If you don't want to go through the extra time and effort, though, Morone reminds us, "You don't have to shape them at all and you will still get a sweet, crisp, delicious cookie."
The tuiles should stay fairly crispy for about a week if you store them at room temperature in an airtight container. They're not the kind of thing you can bulk-bake and freeze for later, though, as Morone warns that thawed cookies won't regain their crispy crunch.
- 2 large egg whites
- ⅓ cup confectioner's sugar
- ½ teaspoon vanilla extract
- 5 tablespoons unsalted butter, melted and cooled
- ½ cup all-purpose flour
- ⅛ teaspoon salt
- Preheat the oven to 400 F.
- Beat the egg whites, sugar, and vanilla until frothy.
- Add the butter, flour, and salt, then stir until the batter is smooth.
- Drop teaspoons of batter onto parchment or silpat-lined baking sheets and spread each one out into a 3-inch circle. You should be able to fit about 6 cookies per standard-sized sheet.
- Bake the cookies for 6 to 8 minutes until the edges are golden brown.
- Make sure the baking sheet is completely cool before you use it for a second batch.
- If you are shaping the tuiles, immediately roll them up with your fingers or shape them on a rolling pin. If they start to crack, return them to the oven for 15 to 20 seconds to soften.
- If you prefer flat cookies, remove them from the pan and cool on a wire rack.

