How To Fold A Fancy Dinner Napkin Like Some Kind Of Expert
There's a unique joy that comes from setting a beautifully laid-out dinner table for guests. It gives a sense of occasion and heightens anticipation for the meal to come. Both practical and pretty, the napkin plays a central role in table dressing. Nothing says you're making a real effort more than digging out the proper linen napkins.
And the good news is, you don't need to be an origami expert to fold a napkin so it looks stylish. With a few simple tips, it's easier than you think to present them like a professional, taking your dinner party hosting to the next level. You can match them to any theme or color scheme, too — whether it's a birthday bash or a festive feast.
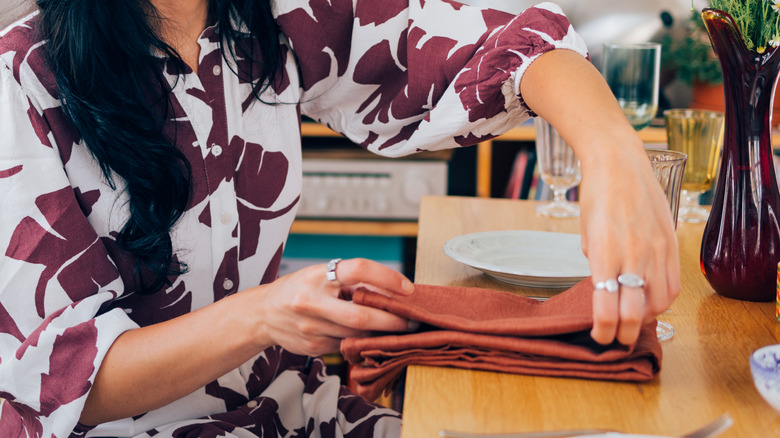
But before you start, it's worth remembering to starch and iron your napkins. It may seem like an unnecessary step, but it means they'll be easier to fold neatly, and they'll also hold their shape better. Plus, it just makes them look extra fancy.
How to fold an angled pocket napkin to hold cutlery
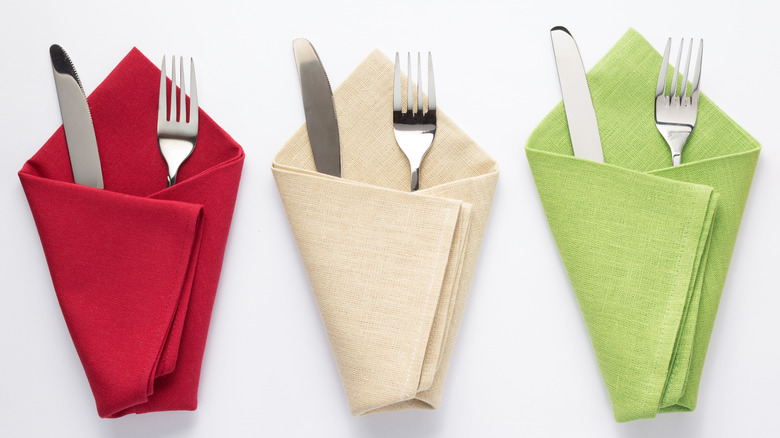
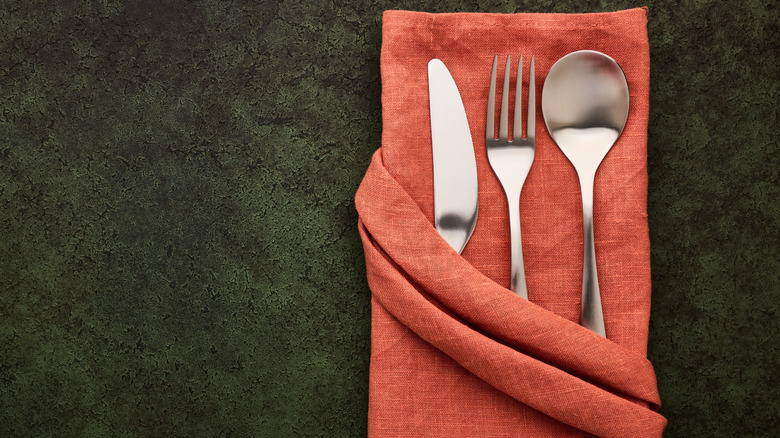
A folded napkin with an angled pocket looks incredibly smart and neat at the table — but it really couldn't be easier to do. You just need to use a standard square cloth dinner napkin.
Start by folding the napkin in half, and then fold it into quarters. Take hold of the open corner from the top layer and fold it over to meet the opposite corner. Turn the napkin over, so it's facing down, and fold it into thirds, lengthways. Then turn it back over, and you'll have a perfectly folded napkin, complete with an angled pocket.
It's not just cutlery or flatware that can be placed in a pocket napkin, either. It makes the ideal vessel for a printed or handwritten menu for the meal that's about to be served. You could also use it to hold a place card, a party favor, or an invitation, depending on the occasion.
How to fold a pretty bow tie napkin
A napkin in the shape of a bow is a pretty addition to any place setting, perfect for a celebration dinner, or at Christmas. You'll need a napkin ring or ribbon to really have this one shine.
To make one, you'll need to start by laying your ironed square napkin out flat. Fold the top part downwards, and the bottom part upwards, so that they meet in the middle, forming a rectangle. Then fold the right and left sides into the center, so it makes a square. Turn it over, so you have a smooth, flat square.
Cinch it in at the middle, and secure it with a piece of ribbon, which you will need to glue at the back to keep it in place. Alternatively, you could use a napkin ring, a strip of material in a matching or contrasting color, or even an elasticated band for the center. Depending on the size of the napkin, you may wish to add a couple of extra creases on either side, to neaten up the appearance of the bow, and to keep it looking symmetrical.
How to make a cute bunny napkin for Spring entertaining
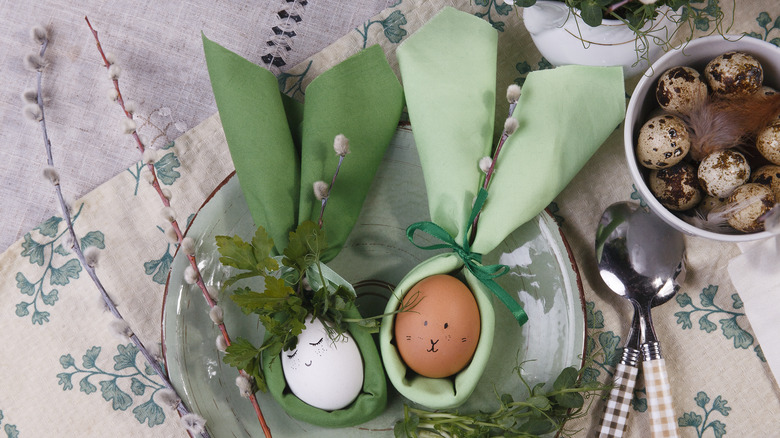
What could be cuter than a bunny-themed napkin, complete with floppy ears, to sit alongside some painted eggs for a colorful Spring brunch, Easter dinner, or a child's special birthday party? The absolute simplest way to make your bunny is by rolling the napkin, rather than folding it. Just take one corner and roll it up tightly towards the opposite corner. Fold the two ends upwards towards each other — these will be the ears. Tie the roll part way up with a ribbon, leaving enough space for an egg to nestle in the hole. You could draw or paint a bunny face on the egg for an added "aww" factor.
Alternatively, you can make a slightly more grown-up bunny napkin that stands upright on the table, using a well-starched cloth napkin. Fold the napkin into thirds to form a rectangle, then fold it in half to create a visual crease along the center. Fold the top corners down along the centerline, and the bottom corners up, to make a diamond shape. Fold the edges on the left and the right in towards the center, like a kite. Turn it upside down, flip it over, then turn up the point at the bottom. Tuck one corner into the pocket space of the other to fasten, and pull out the ears to separate. Slightly trickier, but still absolutely adorable — you just might need more time and practice to get your colony of rabbits ready before your guests arrive.


