The Liquid Rule To Remember For Better Gluten-Free Bread
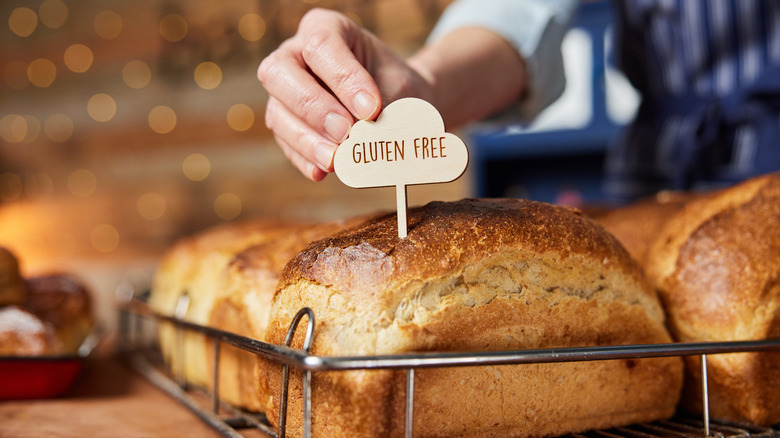
Gluten-free baked goods have come a long way in the last decade. Anyone with a gluten intolerance or Celiac disease knows the years-long struggle to find tasty alternatives to the foods we grew up with — whether it was expensive or hard-to-find ingredients, complicated recipes, sub-par flavor, or weird texture, the foods never tasted like you'd hope they would.
Yet, after hours of experimentation and some creativity in the kitchen, professional chefs and at-home cooks are cracking the code to better-tasting gluten-free pasta, cookies, cakes, waffles, and breads, and graciously sharing their findings with the world.
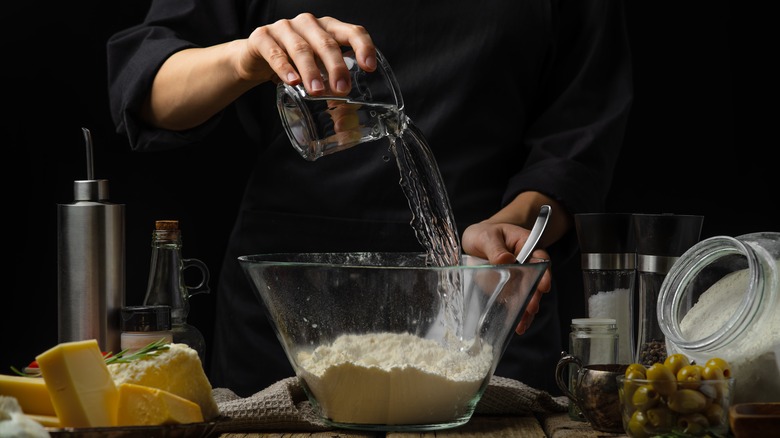
One such breakthrough comes from the amount of liquid added to the dough — increasing the content will create more chewy, pliable bread for sandwiches, as well as more scrumptious cakes, and better texture for pastries. Simply add 2 to 3 extra tablespoons of liquid per cup of flour to do the trick.
This means that if your favorite recipe for roasted red pepper focaccia with goat cheese calls for 2 cups of flour, and the listed wet ingredients are 1½ cups of water and 3 to 5 tablespoons of olive oil, this trick increases the liquid measurements will be between 1¾ and 1⅞ cups of water and 7 to 11 tablespoons of oil.
Why do gluten-free bread recipes need more liquid?
Increasing the volume of liquids when making a gluten-free version of any bread recipe is important because traditional flour made from wheat isn't as absorbent as its allergen-friendly alternatives. For example, bread flour blends made from almond, rice, oat, and other wheat alternatives are drier and require more liquid in order to reach a consistency and texture similar to that of a regular loaf, states the "Baking Gluten Free: Tips and Techniques" chapter in the "Gluten-Free Baking with The Culinary Institute of America" cookbook.
This fact provides the rationale for why extra liquid can create a path to a more successful gluten-free pumpernickel and also explains why it may look very different from a loaf that bakes using wheat flour. In fact, when using this trick for double the liquid, your gluten-free bread dough will have noticeable tactile and visual differences that may take on the look and feel of a cake batter or a near-paste consistency. Don't be alarmed, though, this is normal and will still yield a better loaf.
More gluten-free baking tips
The reason that gluten-free bread dough may have a different appearance when it's first assembled is because these types of flours are drier and take longer to absorb the liquids due to their higher starch content.
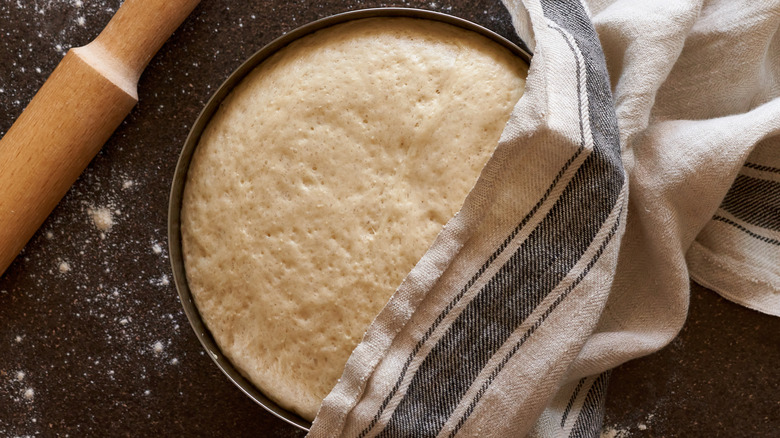
With this in mind, it is ideal to let your dough sit for a bit before baking so all of the liquid can fully integrate. So, if you decide to try your hand at baking gluten-free bread, check the recipe to see if there's time built into the assembly stages for the dough to rest (there normally is) so you can get the best results.
If the recipe does not have this time built in, simply add an extra 20 minutes or so into the estimated prep period to give the dough plenty of time to chill. You can simply leave it in the mixing bowl to do so, which will help it sop up all the extra water and oils. The rest period can make a significant impact on a gluten-free baked good, taking it from the crumbly, gritty taste that makes anyone sad to the ideal texture that has the same mouthfeel of regular wheat bread that is pure satisfaction.


