13 Instant Pot Functions You Might Be Overlooking
An Instant Pot is a useful device for creating home-cooked meals quickly and easily, even on a hot day. This tool is also a helpful backup if something happens to your oven.
But, this tool is a bit more complicated than traditional pressure cookers. People commonly make mistakes when cooking with an Instant Pot, leading many to believe it has a steep learning curve. Despite having the functionality to cook things faster, you need to select the right option for preparing your meal to avoid wasting or burning your food.
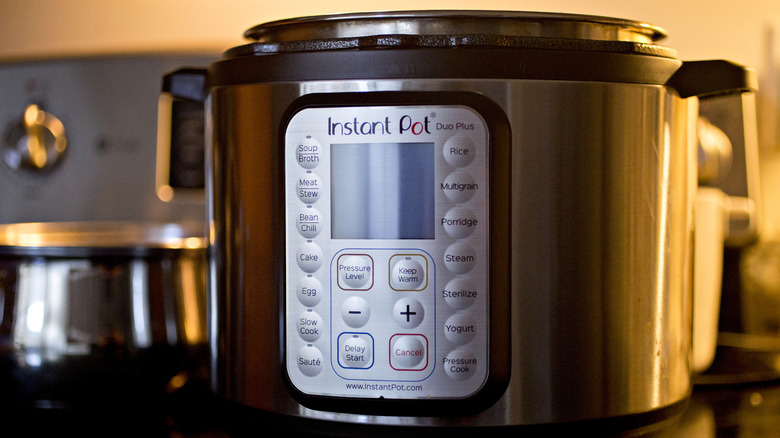
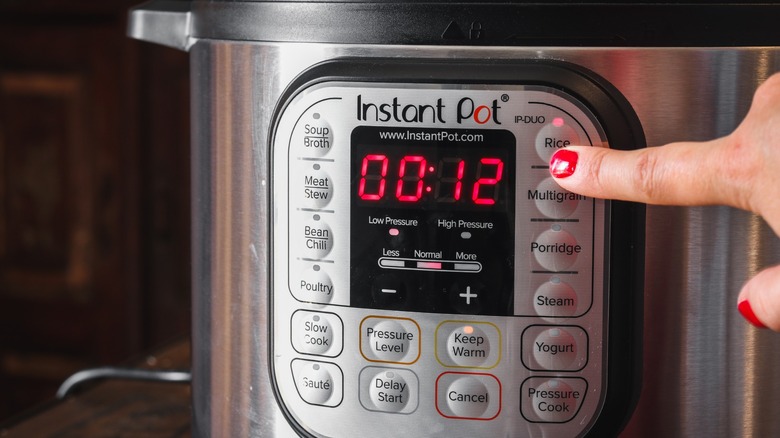
Fortunately, the Instant Pot is shipped with a manual and recipe booklet to help new users acclimate. Most new cooks do just about everything using the manual button. However, with a dozen or more functions designed to ease meal prep, it's worth taking the time to understand the best uses for your Instant Pot functions and how to use them.
The Meat/Stew Function
If you understand your cut of beef and how you want it to come out, the pre-programmed functions allow you to skip sweating the cooking time, making you feel like an expert right from the start. One of the most helpful functions on your Instant Pot is the Meat/Stew button. The Meat/Stew function can tenderize your bargain-store beef into a high-quality cut of meat and is best used for tough ingredients, such as rabbit, duck, pork, and venison.
Like many of these specialized buttons, this function has three settings for high-pressure cooking. The Less button is 20 minutes, Normal is 35, and More is 45. Instant Pot recommends using the More setting if you want the meat to fall off the bone.
Of course, that means this setting makes a perfect stew because usually stew beef is tougher and chewier than steak beef. This option is flexible enough to churn out a great set of ribs (set to More), incredible pulled pork, and even good old liver and onions.
The Sauté Function
Once you're comfortable with the basics of your Instant Pot, the Sauté button will be one of your most-used options. This function gives you more control over the outcome of your recipe and is only to be used when cooking without the lid.
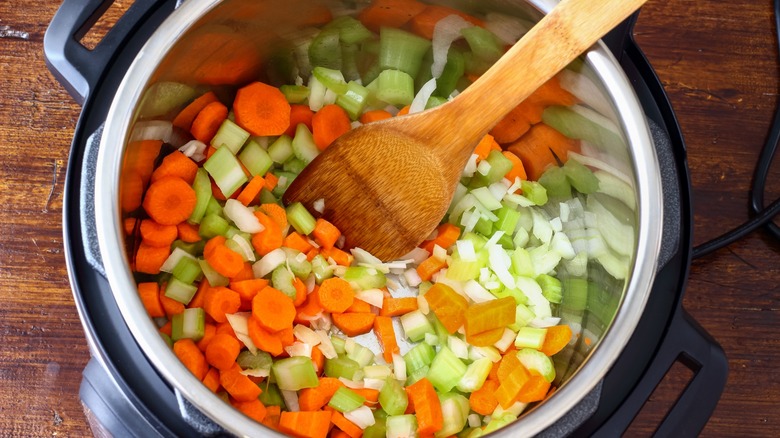
Many Instant Pot recipes call for this versatile function, especially to brown meat or caramelize onions and garlic, just as you would on your stovetop. Always use oil, butter, or other oil substitutes with this function. One practical advantage of this function is that it keeps all the ingredients inside the pot rather than spraying your stovetop with oil or sauce, a common problem when sautéing larger pieces of meat.
We commonly think of sautéing at the start of a recipe, but you can also use this function afterward. You can also use this function after you've completed your recipe to create sauces or to make your dish thicker. You can even use it if your meal is undercooked and the different settings are usable for various objectives: Less for sauces, Normal for vegetables, and More for meat.
The Bean/Chili Function
If you've ever wanted to buy dry beans but felt intimidated by cooking them, you're not alone – and you're right to be cautious. Eating undercooked beans can be harmful. Food Safety News explains that some beans contain a type of lectin that can cause stomach issues such as diarrhea and pain or may even cause you to throw up. Cooking beans properly eliminates the lectins and the reactions.
You might think you'll have to slave over the oven for hours to get beans to the right texture, but Instant Pot's Bean/Chili function makes this process easy. Set the Less/More/Normal to direct the pot how you'd like the bean's texture — Less for firm or More for softer beans.
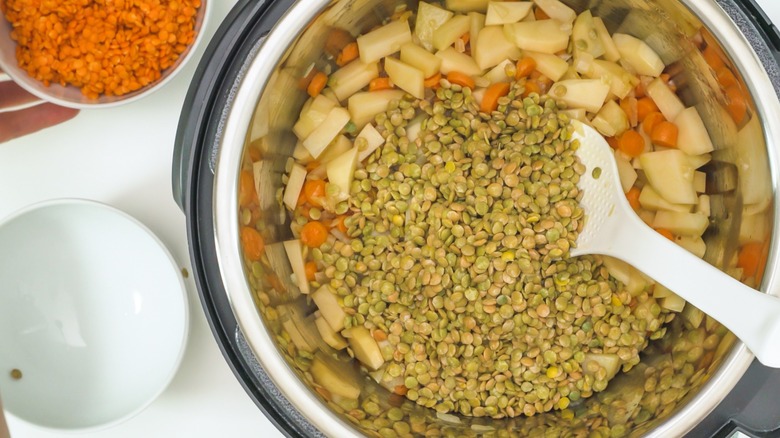
Adding around one pound of beans to six cups of water in your Instant Pot should do the trick, and remember to always pre-wash dry beans before cooking! You can soak them overnight or just for a few hours.
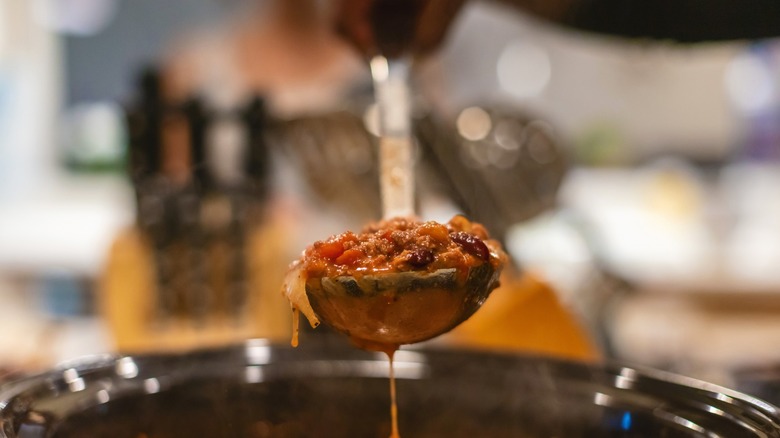
Of course, you can also use the Bean/Chili function to make chili. Cook time selection, which ranges from 25 to 40 minutes, will depend on your ingredients. Kidney beans, meat, or poultry will require a longer cooking time than vegetables or black beans to ensure your food is thoroughly cooked.
The Multigrain Function
The Multigrain function is one of the more complex operations on the Instant Pot, designed to give you an assortment of options for cooking grains. Multigrain is the best function for hardier types of rice, such as brown or wild rice, since the Normal setting is a bit longer — 40 minutes.
The Multigrain function can also help prepare black rice, steel-cut oats, farro, and risotto resulting in one-pot meals such as black rice mushroom risotto or farro with tomatoes. However, you may need to make appropriate adjustments, including using the Sauté function beforehand for risotto.
Multigrain also works well with legumes. Instant Pot provides a list of beans you can cook with this function, including black beans, lima beans, and black-eyed peas using the Less option; mung beans, chickpeas, and soybeans with the Normal option, and combinations like a lot of wild rice and chickpeas on the More setting.
The Porridge Function
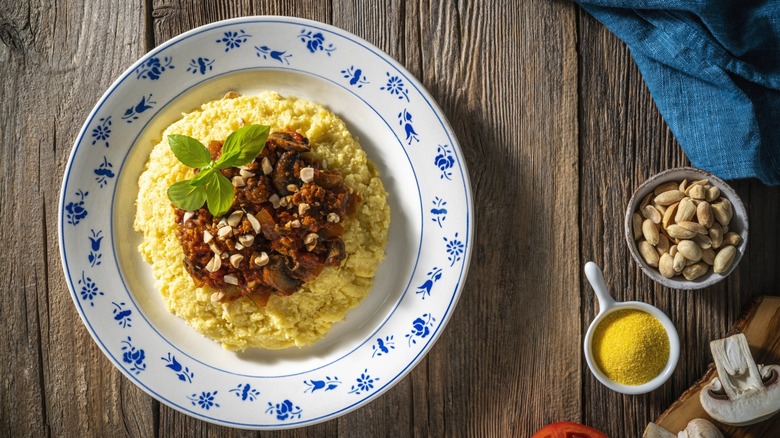
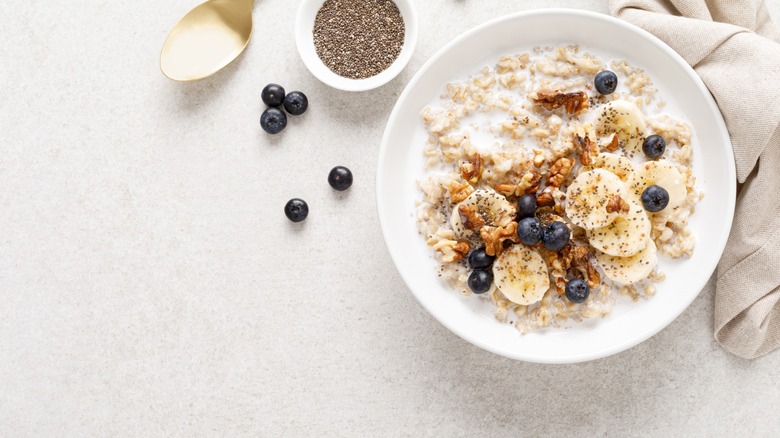
We're not exactly sure why the makers of Instant Pot choose this outdated term, but the Porridge function allows you to make recipes from lots of different grains, including oats and polenta. For the best consistency of texture, polenta should be stirred while cooking. This also helps avoid burnt grain stuck to the bottom of the pot. Since stirring isn't an option once you've closed the Instant Pot, you need a workaround. You can soften the polenta first by adding very hot water to the pot, then stirring it before sealing the lid. You can heat the water with the Sauté function but that can take longer than stovetop boiling.
Of course, this simple function is the best choice when you are actually making porridge in your Instant Pot. However, you may need to experiment with water-to-grain proportions and cook times to make a bowl that suits your taste.
The Slow Cook Function
Most Instant Pot users are so enamored of the ability to speed up their pressure cooking that they don't realize they can use it as a slow cooker. Why would you do that? Using your pot this way maximizes its versatility. Instead of keeping multiple cookers in your kitchen, one Instant Pot can do it all.
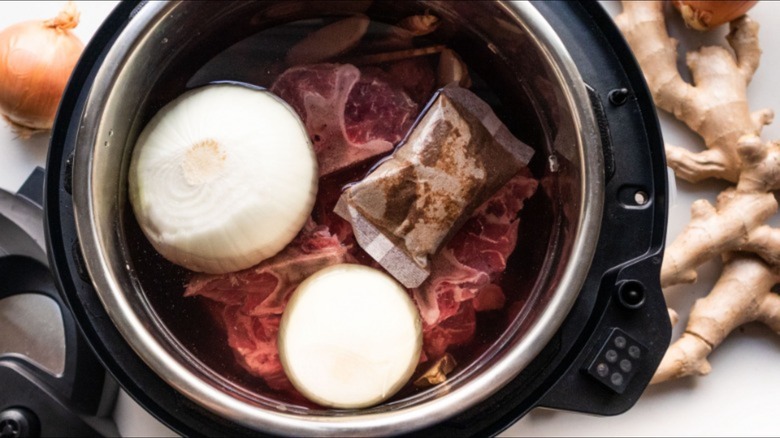
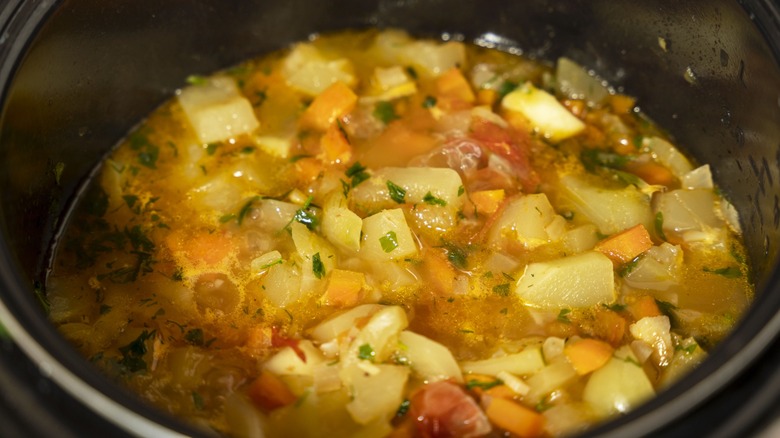
You can cook many dishes already discussed this way, such as chili, beans, or bone broth. How do you use your Instant Pot as a slow cooker? For example, the Instant Pot differs from traditional slow cookers in two critical ways. Unlike other cookers, the inner pot is made from stainless steel. And, rather than heating on all sides, it only cooks from the bottom. That means you need to make sure your dish is cooking evenly. And, keep in mind that the labels may be different. For example, the Low setting on a slow cooker is likely the same temperature as the Normal setting on the Instant Pot, rather than Low or Less settings.
Instant Pot also recommends using their tempered glass lid for the Slow Cook option, which makes your pot seem more like a traditional slow cooker. They also claim you can use any glass lid as long as it seals properly to the inner pot. These options give you the flexibility to track your recipe's progress.
The Steam Function
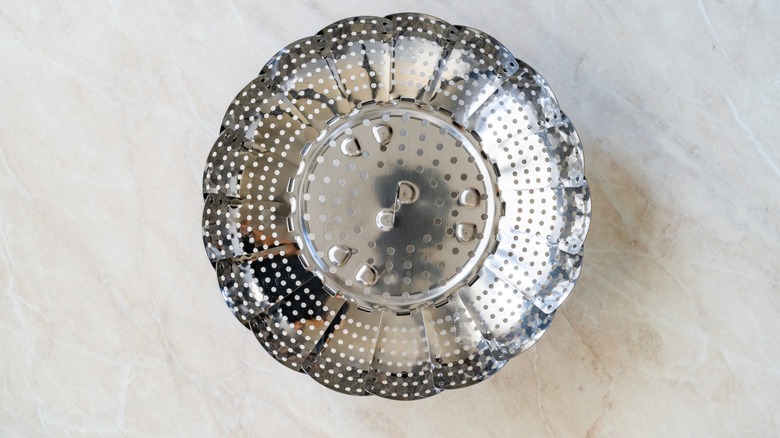
The Steam function is easily overlooked but is a convenient way to cook a more nutritious meal. How does steaming food compare to pressure cooking? On your stove, steaming is a healthier alternative to boiling because more vitamins, minerals, and other nutrients are retained, according to Healthline. However, the Instant Pot's Steam option does not function the same way as stovetop steaming. Instead, it is another variation of pressure cooking if you use the standard lid. Using a glass lid with this function is a better option. You can also choose the Sauté button as an alternative way to steam your meal.
Which are the best foods to steam in your Instant Pot? You have plenty of options. Naturally, fruits and vegetables top the list, but you can also steam foods with a short cook time. For example, fish will come out better using the Steam function instead of the other pressure functions.
The Yogurt Function
Making yogurt in your Instant Pot can save money and is a great way to control sugar content, flavor, and ingredients. And, it's not just for yogurt! Less, Normal and More are used at different times in the yogurt fermentation and pasteurization process. The Less mode is designed for dishes like Jui Nang, a sweet fermented rice dish; the Normal and More modes are used for further fermentation and pasteurizing processes.
Even when you are cooking yogurt, you still have plenty of options. Make plain or flavored yogurt, or try making Greek, fat-free, and dairy-free options.
The Instant Pot Yogurt function has two additional options: Boil and Incubate. The Boil option is necessary to pasteurize your milk to remove the bacteria — you do need bacteria to make yogurt, however, you want to ensure it's only what you add and that there aren't any residual harmful microbes in the mix. After adding a fermenting agent, the Incubate function sets the pot to hold the milk between 110 and 115 degrees Fahrenheit for several hours to create your yogurt.
The Delay Start Function
The Delay Start setting is helpful if you want to prepare your food now but cook at a later time. You'll prep as usual, adding the ingredients and setting your desired function. Then, you'll press Delay Start and set the number of minutes you'd like Instant Pot to wait until it starts cooking.
However, you do not want to leave food items on your counter too long. If your house is cool, you may be able to set this function for a few hours but beware. According to the USDA, bacteria can grow quickly from temperatures as low as 40 degrees Fahrenheit. They advise keeping meat out of your freezer or refrigerator for no more than two hours. If the temperature is 90 degrees Fahrenheit, that changes to one hour or less. Be mindful of high-heat days.
Other types of food are not so sensitive and work better with the Delay Start function. For example, you can leave steel-cut oats overnight, and beans can be left in the cooker for several hours. Use this button wisely and sparingly.
The Sous Vide Function
If you have a newer model Instant Pot, your functions may look a little different than the traditional models. Some advanced options include Sous Vide, Cake, and Sterilize.
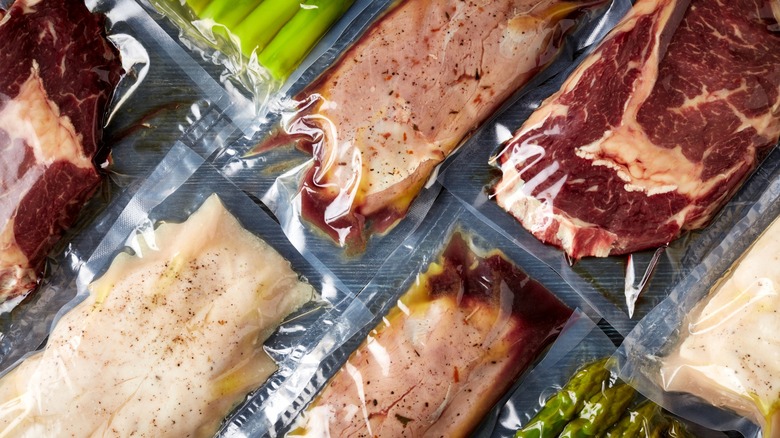
Sous Vide is a setting that can help you achieve restaurant-quality results with your pressure cooker. Translated to "under vacuum," this is a way to prepare your food by putting all your ingredients together in an airtight bag and then placing it in hot, churning water.
Your Instant Pot won't circulate the water but it will give you the desired result. To accomplish this, place all your ingredients inside a resealable bag. Next, add water to the pot and select Sous Vide. The water will heat evenly.
Unless you are using a vacuum-sealed bag, you'll need to carefully place the ingredient bag in the water to avoid creating an air bubble. You can even add the bag while it's opened, then close it carefully using utensils once the ingredients are submerged.
The Cake Function
Want to make cake in your Instant Pot? Well, you can! This is a great option, especially for summer birthdays since you can make a cake without turning on your oven. Pressure-cooking a cake ensures that it comes out moist and delicious. However, you need to be aware of a few things.
First, you'll need a proper cake pan. Fortunately, Instant Pot carries two options, a traditional pan, and a Bundt cake pan, all in one set, for both 6 and 8-quart pots. However, you can also use your pans to make Instant Pot cake but be aware that typical cake pan sizes, 8 or 9 inches, will not fit in the pot. Pans must be no wider than seven inches in diameter.
You can make a single or double-layer cake by adding two pans at once. You will have to solve the issue of removing the hot pan from your Instant Pot when it's done. One option is using the trivet, which may be a bit of a tight squeeze. You can even make a makeshift sling out of tin foil that will fit any configuration. It's also advisable to add about ½ cup of water to your pot which will avoid triggering the burn warning when your cake is baking.
The Sterilize Function
Did you know you could use your Instant Pot to sterilize jars and baby bottles? According to Instant Pot, their pressure cooker provides "scientific-grade sterilization". That's right! Since the scientific community often uses pressure to sterilize equipment, Vaille Swenson, a student at Dakota State University, put the pot to the test along with several other pressure cookers to see how well this function worked. Most cookers did kill microbes, but only Instant Pot killed the one microbe (the geobacillus spore) commonly required for commercial testing of high-heat scientific equipment.
While you may not need laboratory-quality sterilization, you can sterilize more practical items by selecting the correct setting within the Sterilize function. Instant Pot advises choosing between the Normal or More settings for baby bottles, jars, utensils, and canning of acidic fruits and vegetables. The Less setting does not sterilize but is for cleaning tempered glass and heat-resistant plastics.
Functions You Can Avoid
There are a lot of Instant Pot cooking tips and advice to go with all the available functions. However, we also think that there are some functions you are best to avoid.
The first is the Poultry function, which is no longer available on current models. One possible explanation is that because poultry meat requires different cooking times, this setting could result in under or overcooked chicken. For example, chicken wings and chicken legs are both comprised of bones and meat. However, the size and density of each vary. Breast meat is generally softer and often has a shorter cooking time. So cooking chicken is difficult to accomplish without being able to turn the pieces over, making a preset less reliable for an evenly cooked outcome. In fact, you could be risking a recipe for disaster.
The next one to avoid is the Rice function. The Instant Pot ships with a recipe booklet that shows you how to make different types of rice using the Manual setting. And, in fact, Instant Pot states that the Rice button is only for "medium and long-grain rice". We think you are better off mastering the Manual function for cooking all types of rice.

