Master Your Pastry Bag Skills With Ina Garten's Cutting Board Tip

Swirls, stars, pretty florets, and delicate borders add the perfect finish to any frosted baked good, but it is all too easy to end up with clumsy blobs and uneven smears. Sure, there are lots of ingredients that will take your boxed cake mix to another level as far as flavor. When it comes to looks, putting in the effort to make the frosting look nice can also turn your cupcakes from amateur to advanced. However, mastering a pastry bag is easier said than done, but as with anything, practice makes perfect.
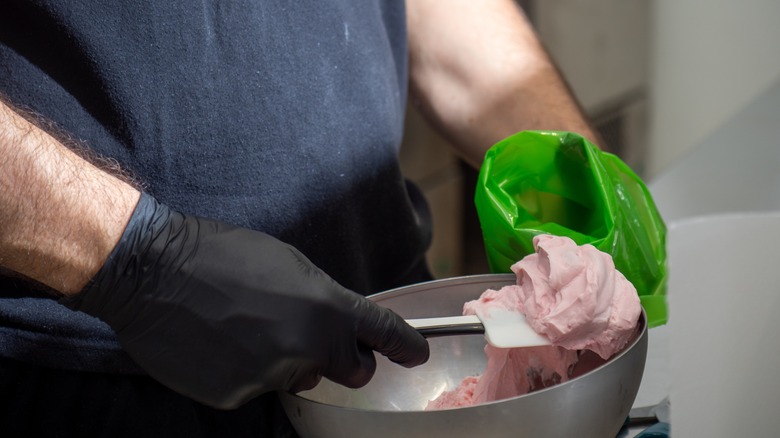
Ina Garten has full confidence that you too can become a whiz with a pastry bag. Start by making a bowl of whipped cream and filling up your pastry bag to about three inches below the top opening. Then — rather than risking muddling up a finished cake — just practice on a cutting board instead. The wide, flat board provides an excellent work surface. Once you have filled it up with your practice piping, simply use a bench scraper or spatula to scoop up the whipped cream, and transfer it back to the bag for another trial round.
If you are interested in practicing shapes and patterns that require a bit more structure, you can stabilize your whipped cream by incorporating some gelatin, powdered sugar, cornstarch, or even Greek yogurt. The combination of vegetable shortening with powdered sugar can also do the trick for sturdy practice piping.
Set up your pastry bag with confidence
A proper piping bag is definitely necessary for professional-grade decorating, despite Alton Brown's crusade against them. It may be tempting to just reach for a zip-top bag, but the flimsier plastic makes it unwieldy, difficult to pipe cleanly, and more likely to break. Save zip-tops for tasks that require less finesse, like loading a twice-baked potato, filling deviled eggs, or piping on a crumb coat that will be smoothed and hidden later on. Otherwise, listen to professional bakers, and use the designated tool.
First, insert the piping tip. If using a disposable bag, this will also help you see how much of the point of the bag you need to snip off. The hole should be big enough for the opening of the piping tip to be fully unobstructed, but small enough that the bag can hold the tip firmly in place.
Loading the bag itself can also be a challenge. To provide some stability while you fill, place the bag in an empty pint glass, tall Mason jar, or plastic quart deli container. A rubber spatula is ideal for scooping frosting or whipped cream in and easily scraping off the excess into the bag.
How to avoid a blow out
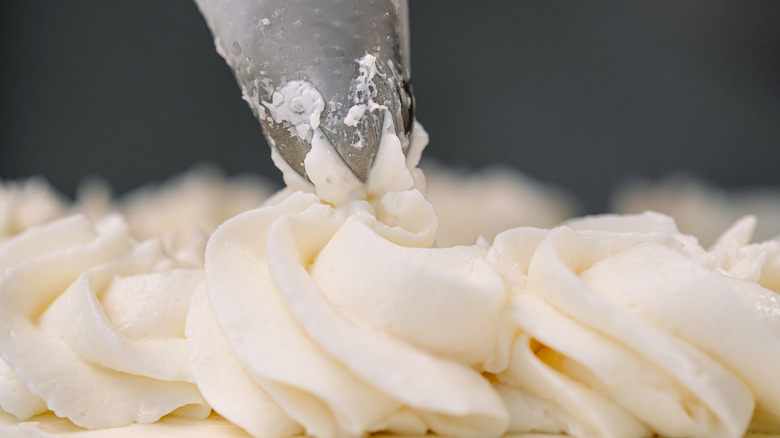
Once filled, it may seem like you can just twist the top of the bag and get to piping, but you are really better off closing it properly. It is easy for frosting to squelch out the top once you start applying pressure. Smooth out the air, and gently press the filling towards the point. Then, fold the top down over itself a few times like you are closing a paper lunch bag, and secure it with a binder or bag clip. Alternatively, close the bag tightly with a twist tie.
Then, you need to burp the bag. Yep, you read that right. As you filled the bag, some small air pockets were left between the scoops of frosting. To get rid of them, slowly but firmly push the frosting towards the tip, which will press out the air as you go. Make sure to do this over a spare bowl or plate because it is likely that some filling will splatter out at first. After that, you can get to practicing on your cutting board.
Don't be discouraged if you struggle. Ina Garten insists that this is one of those skills that just takes some practice. And, even if you get to cake decorating-level confidence and still have a mishap, you can always finish your dessert with strategic ingredients that hide messy frosting.